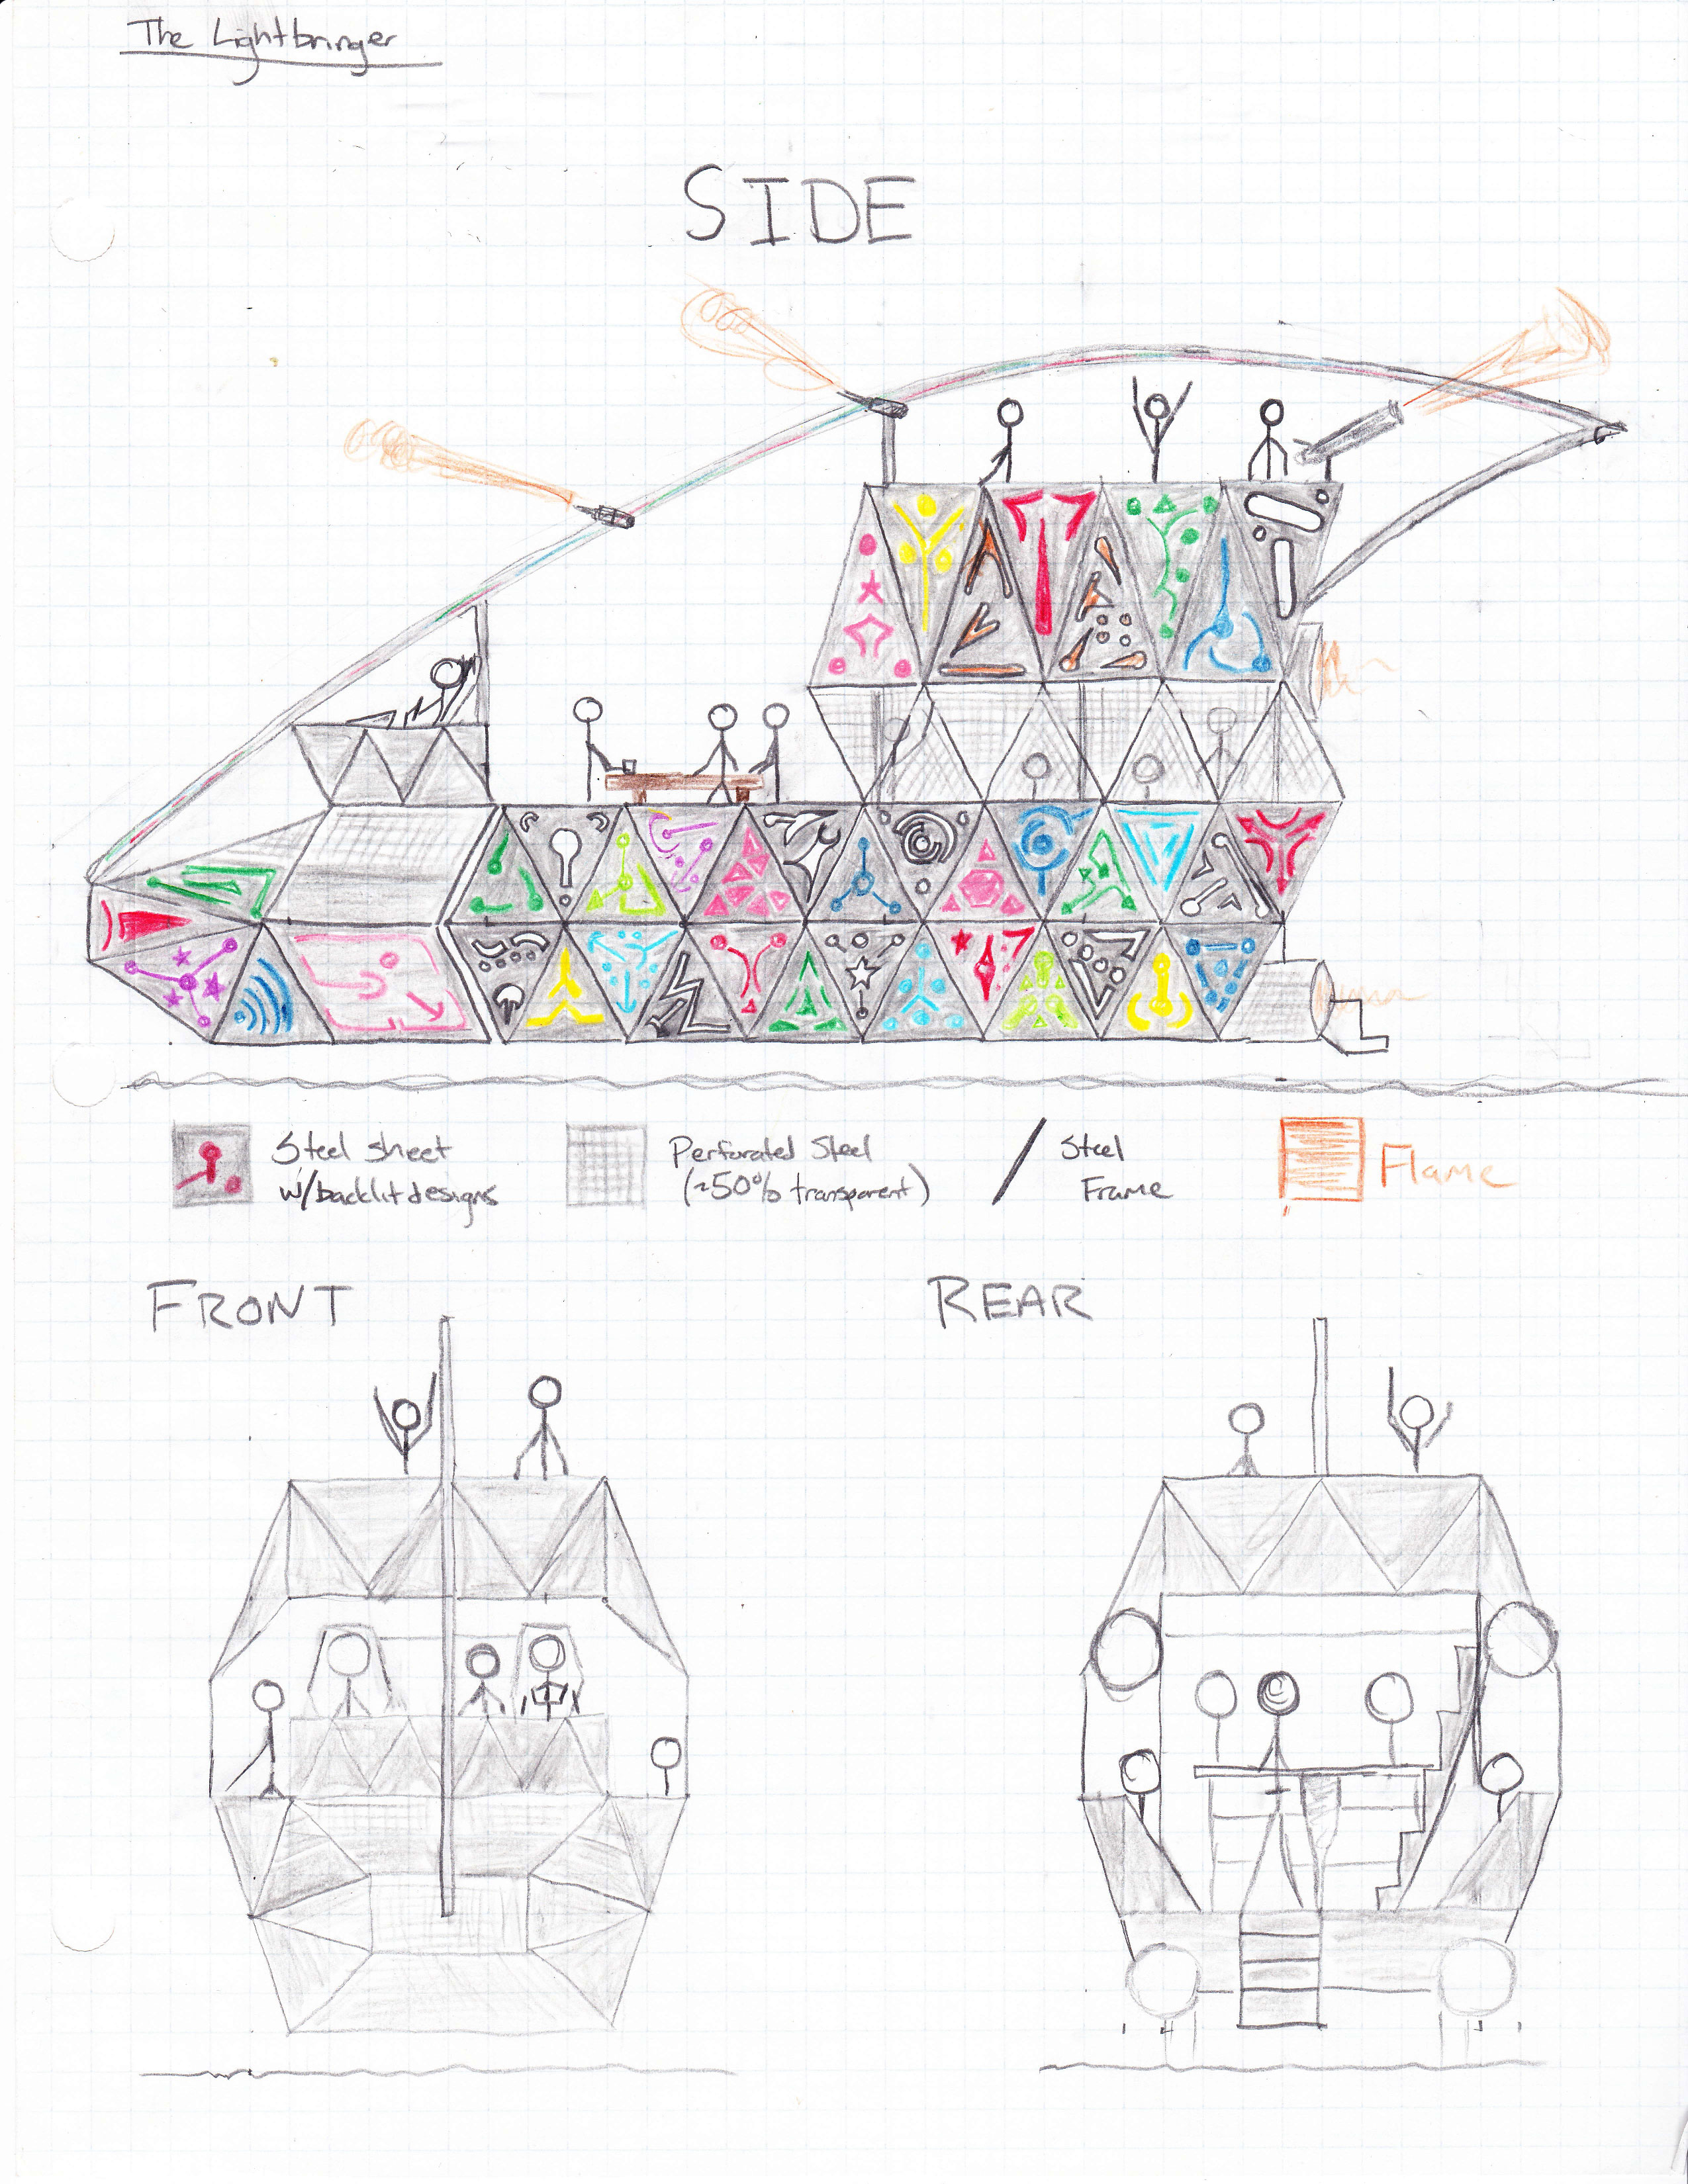
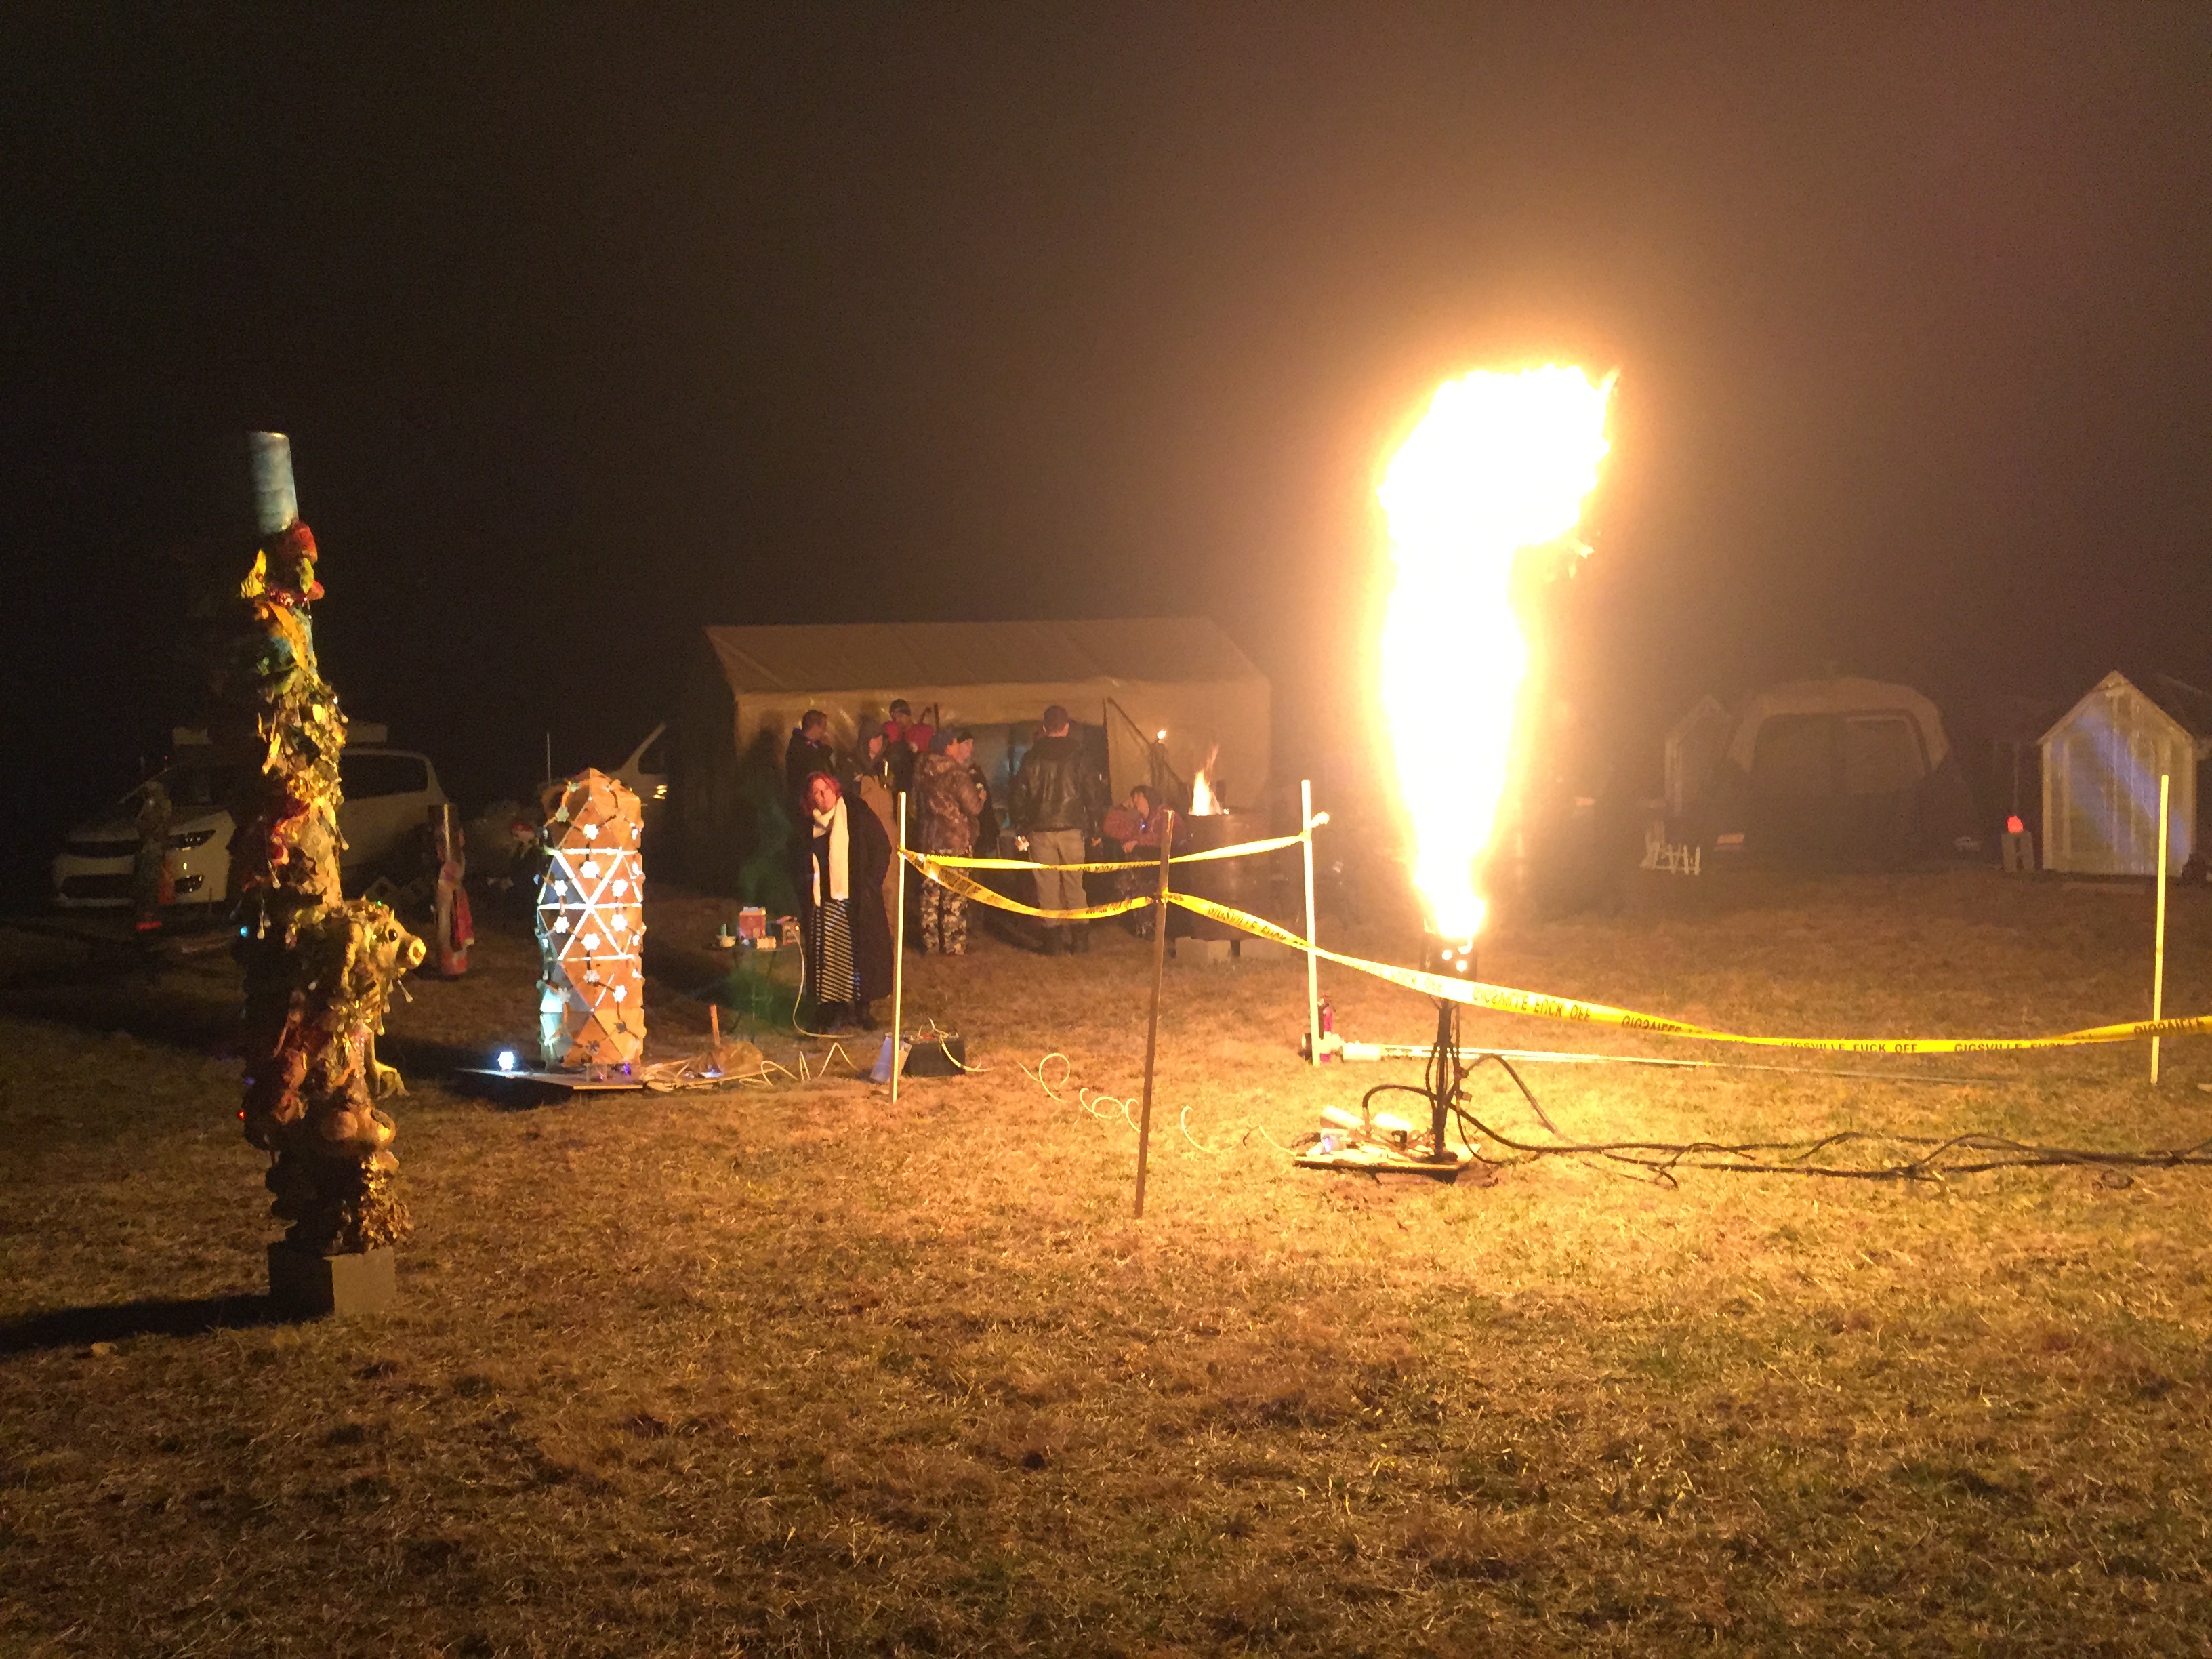
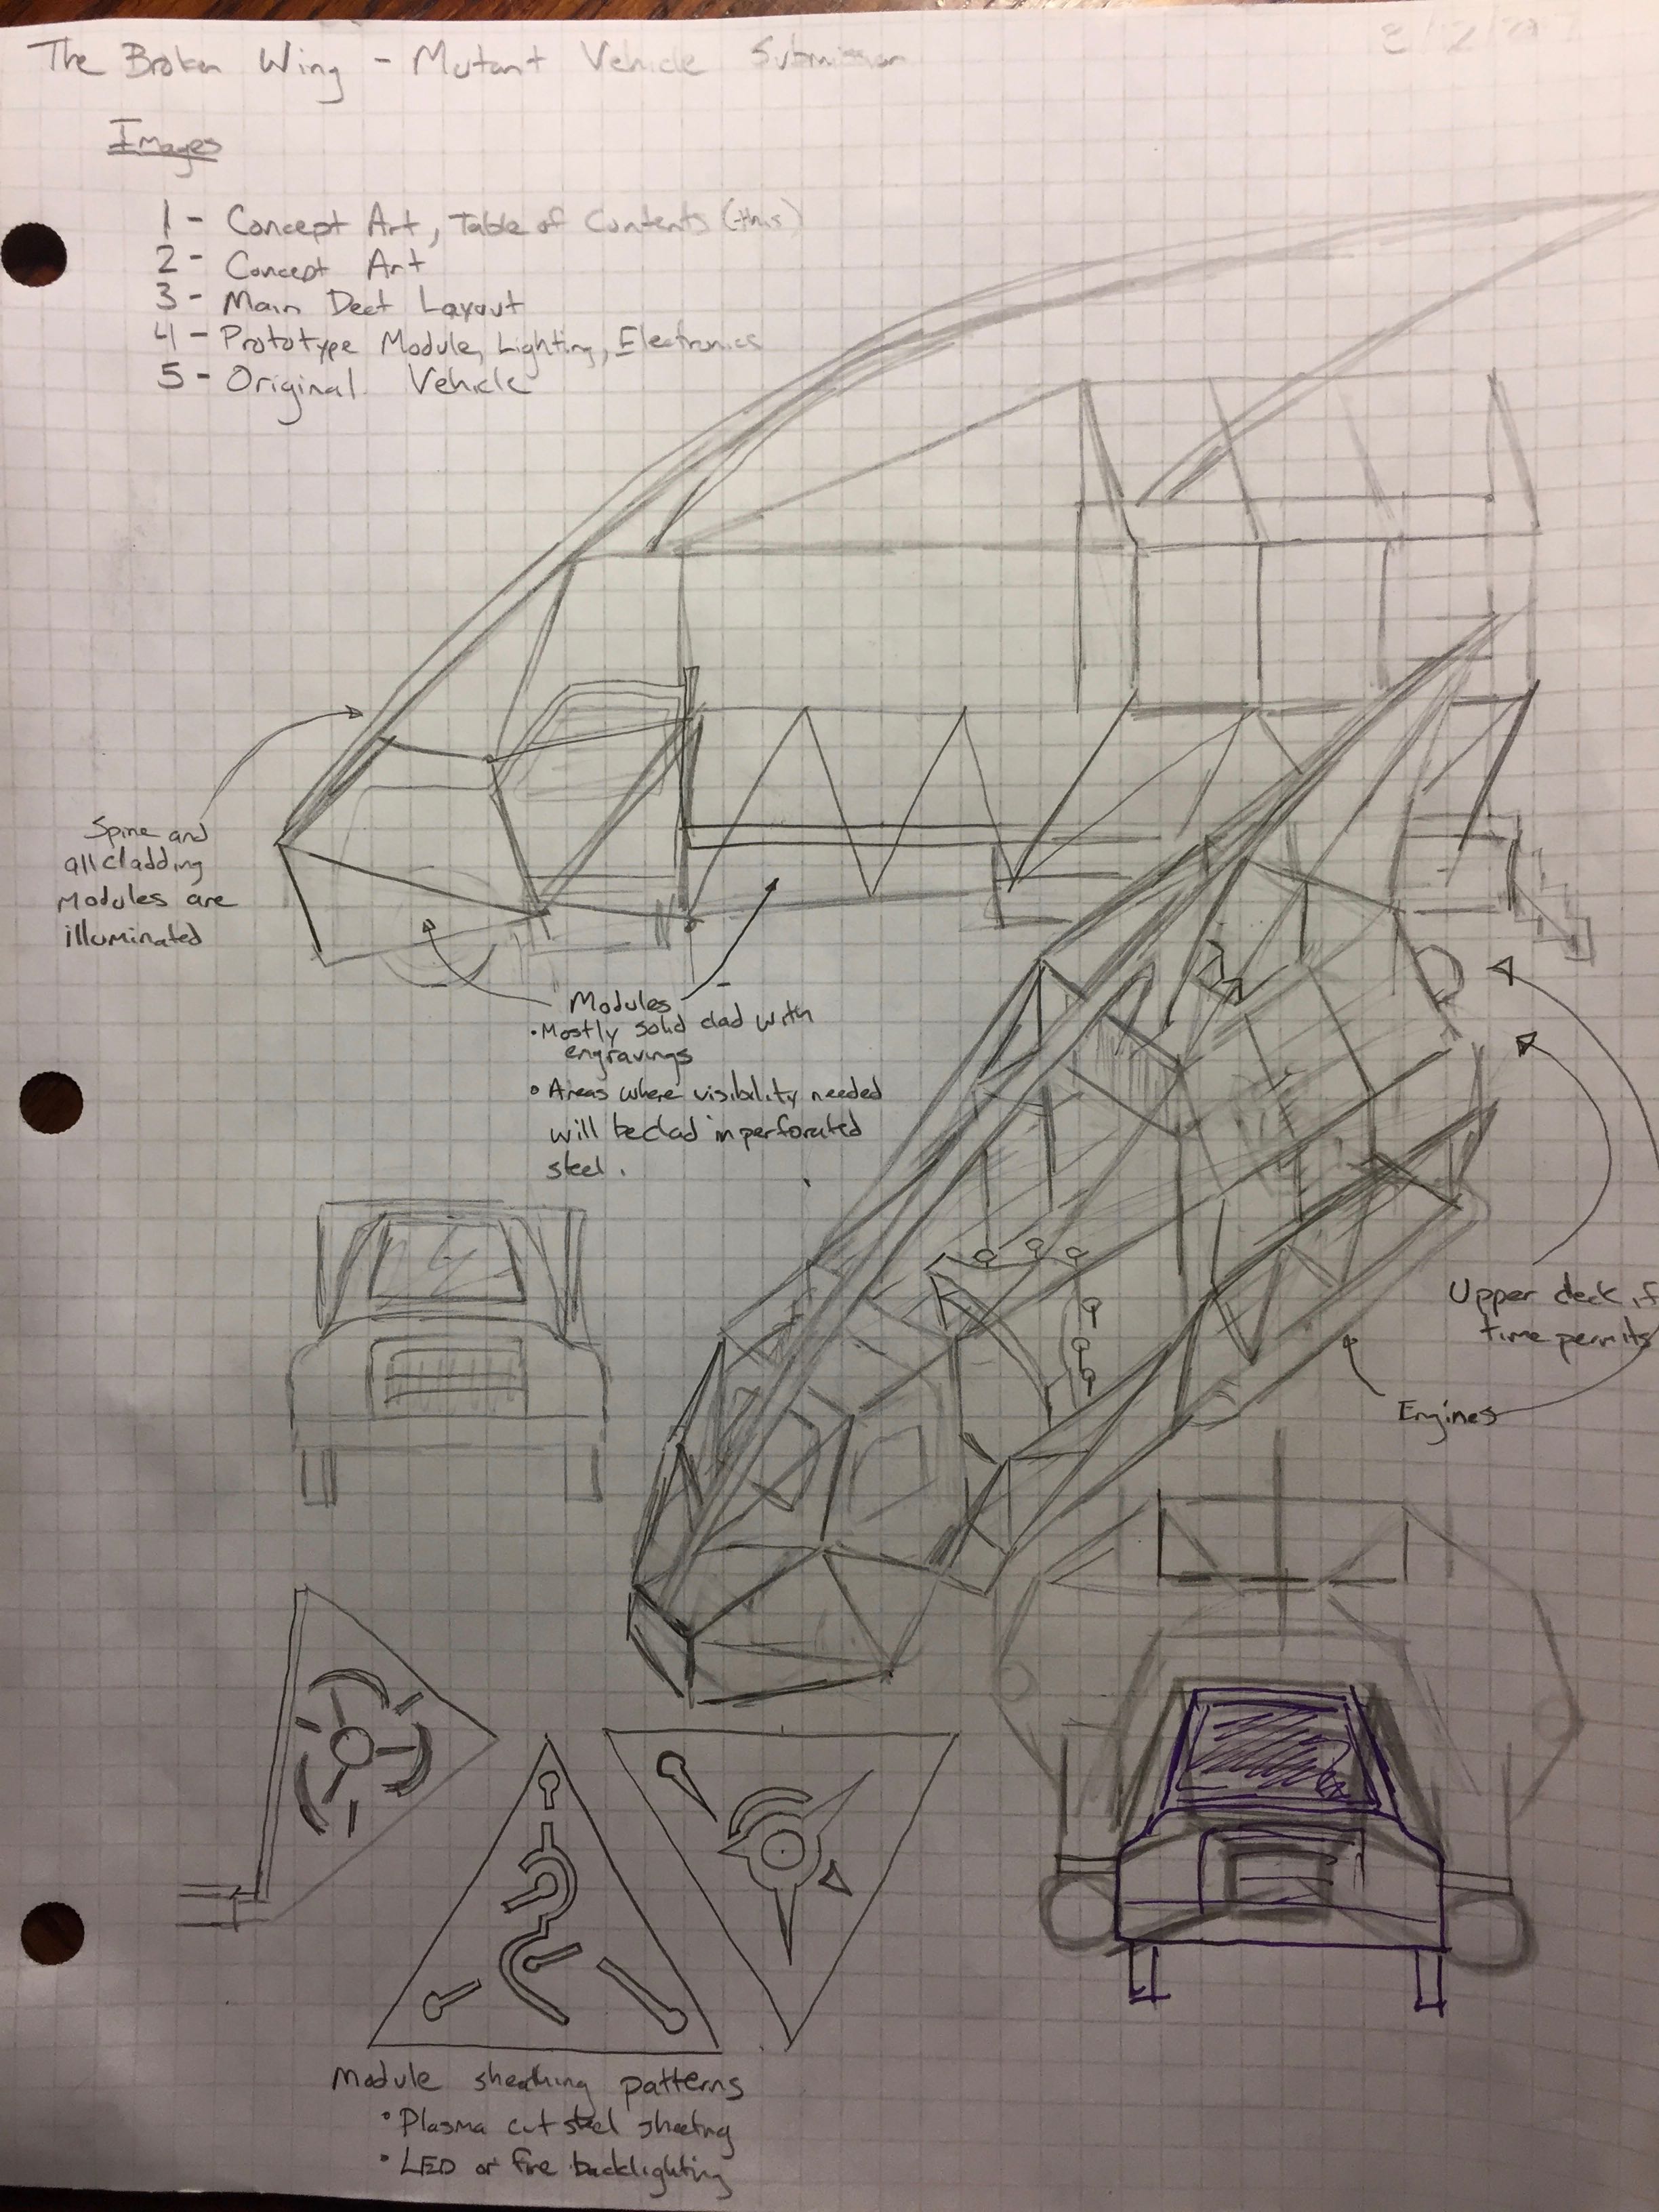
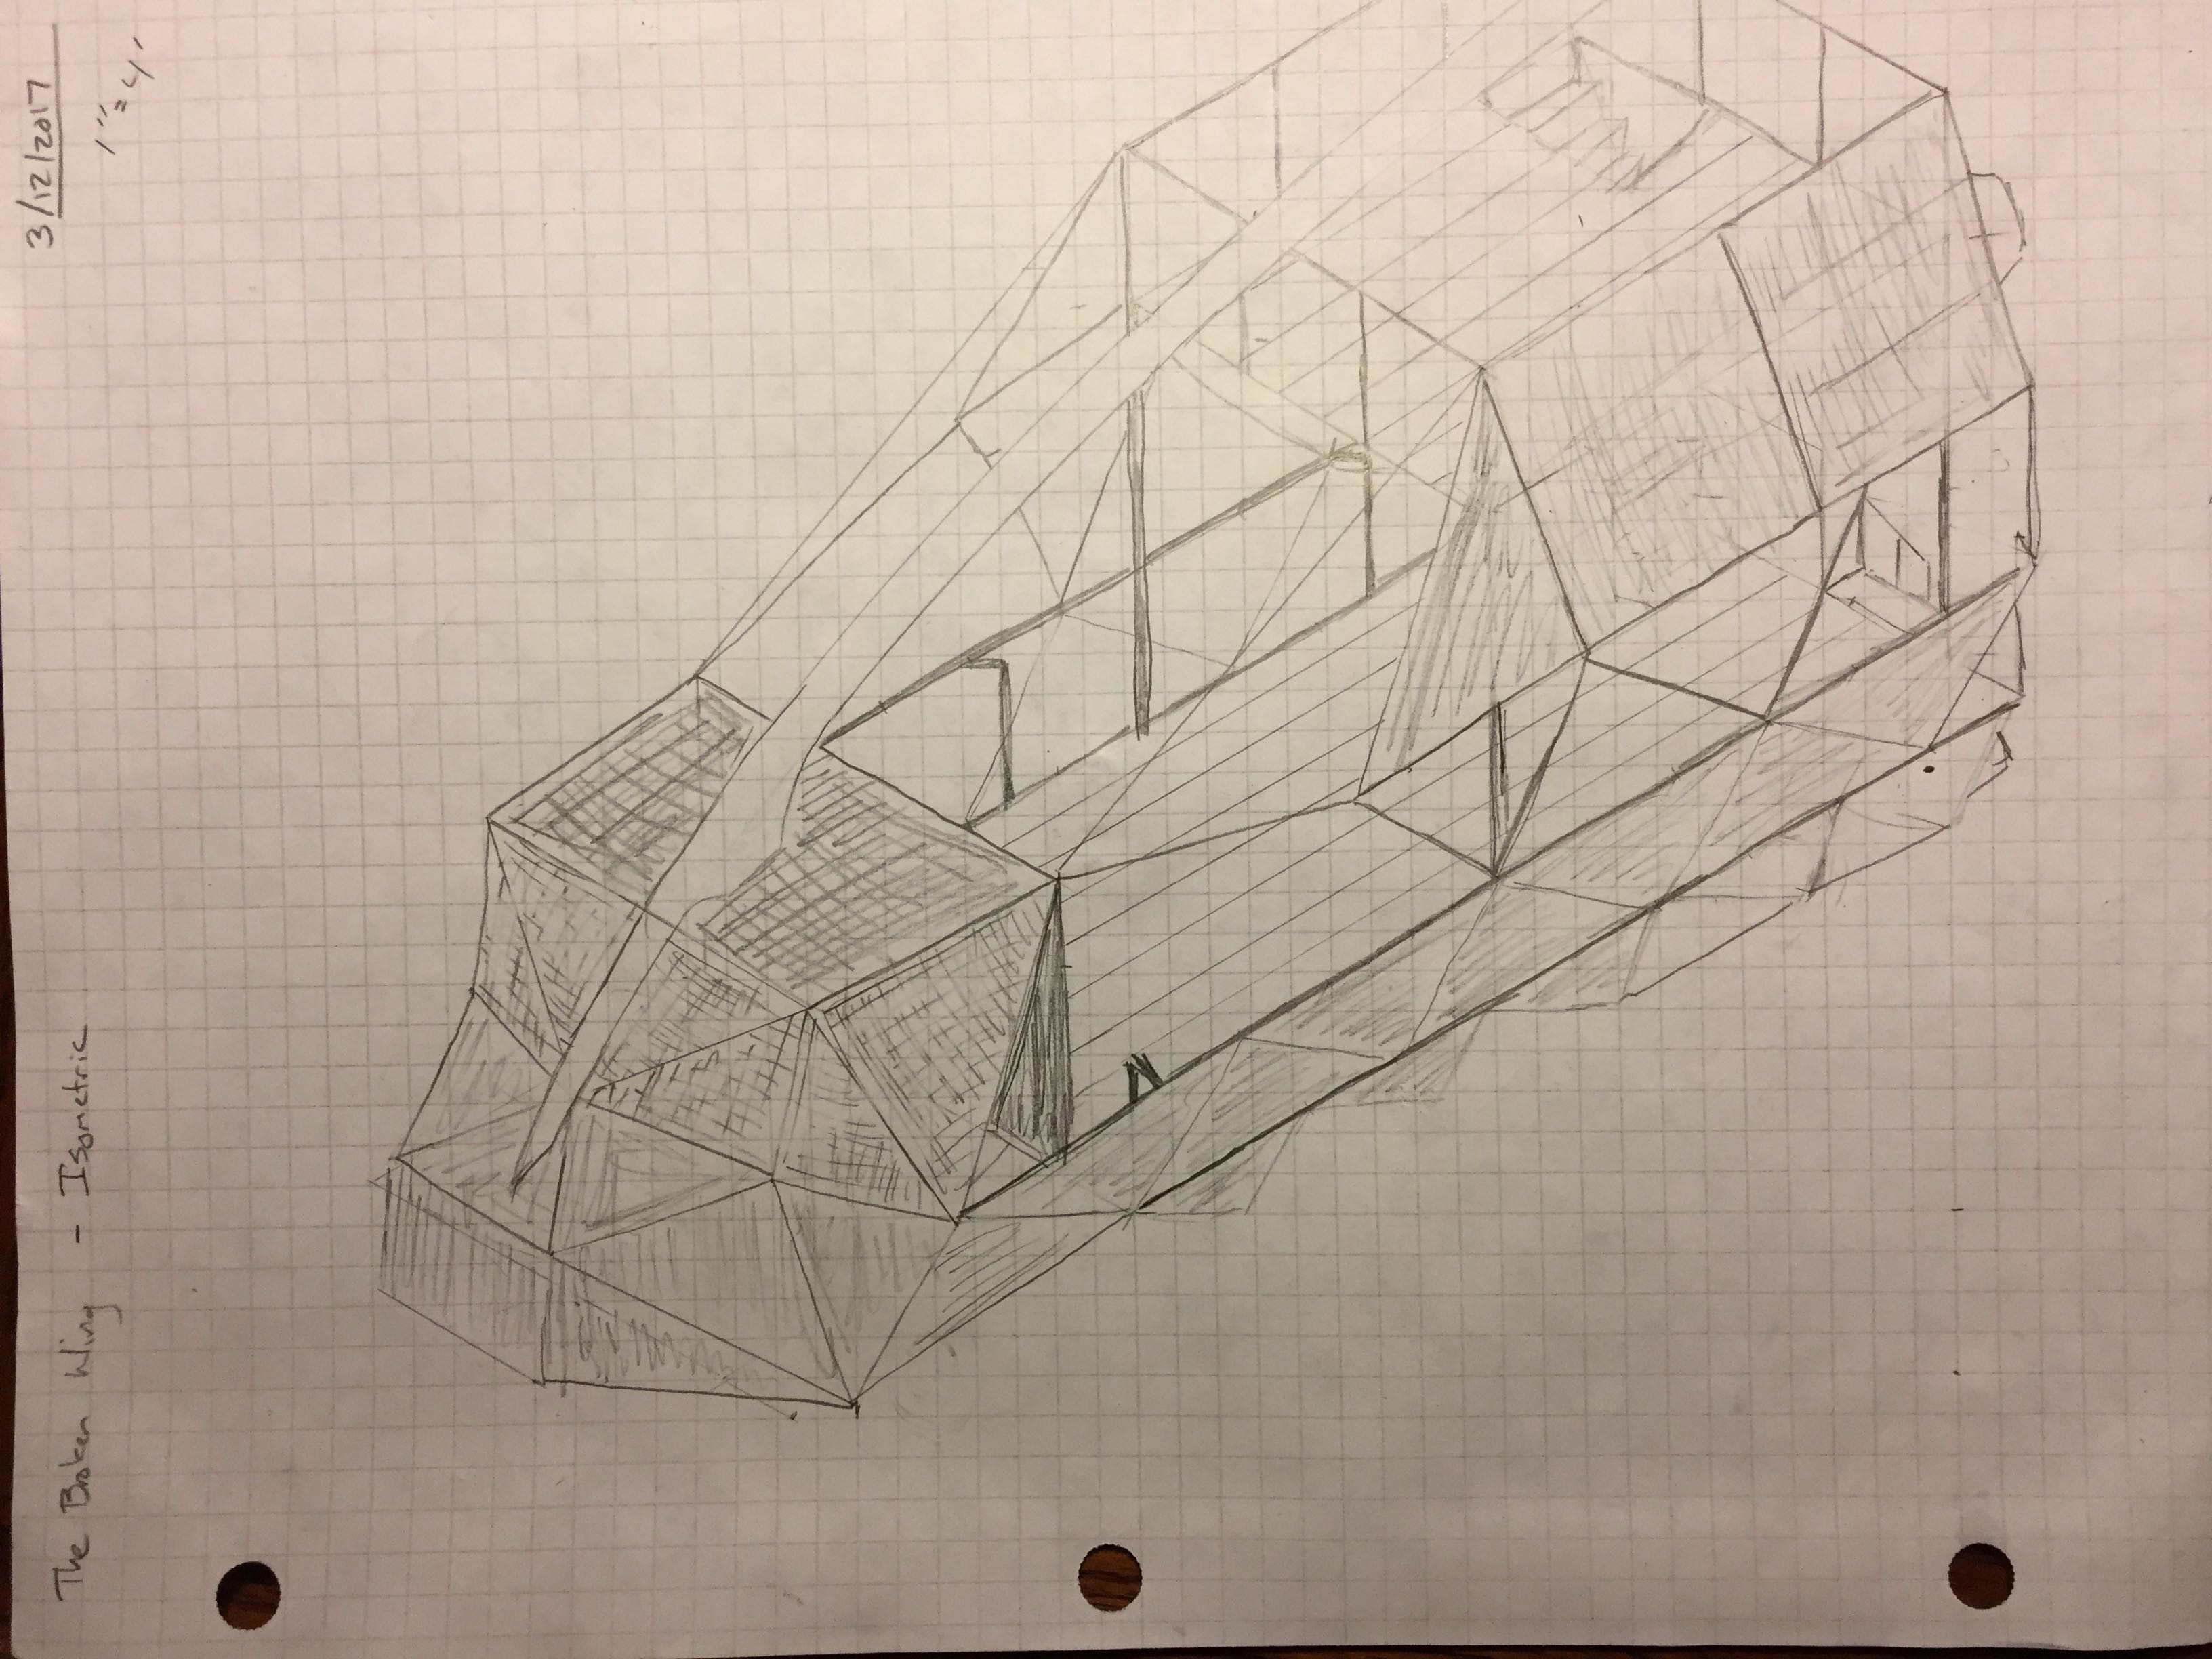
The big differences between 2018 and 2019 was a substantial change to the front of the vehicle and a reworking of the lower decorations to better cover the frame of the base vehicle’s bed. Additionally we managed to get some of the flame effects running in time, which will be substantially improved on in 2022.
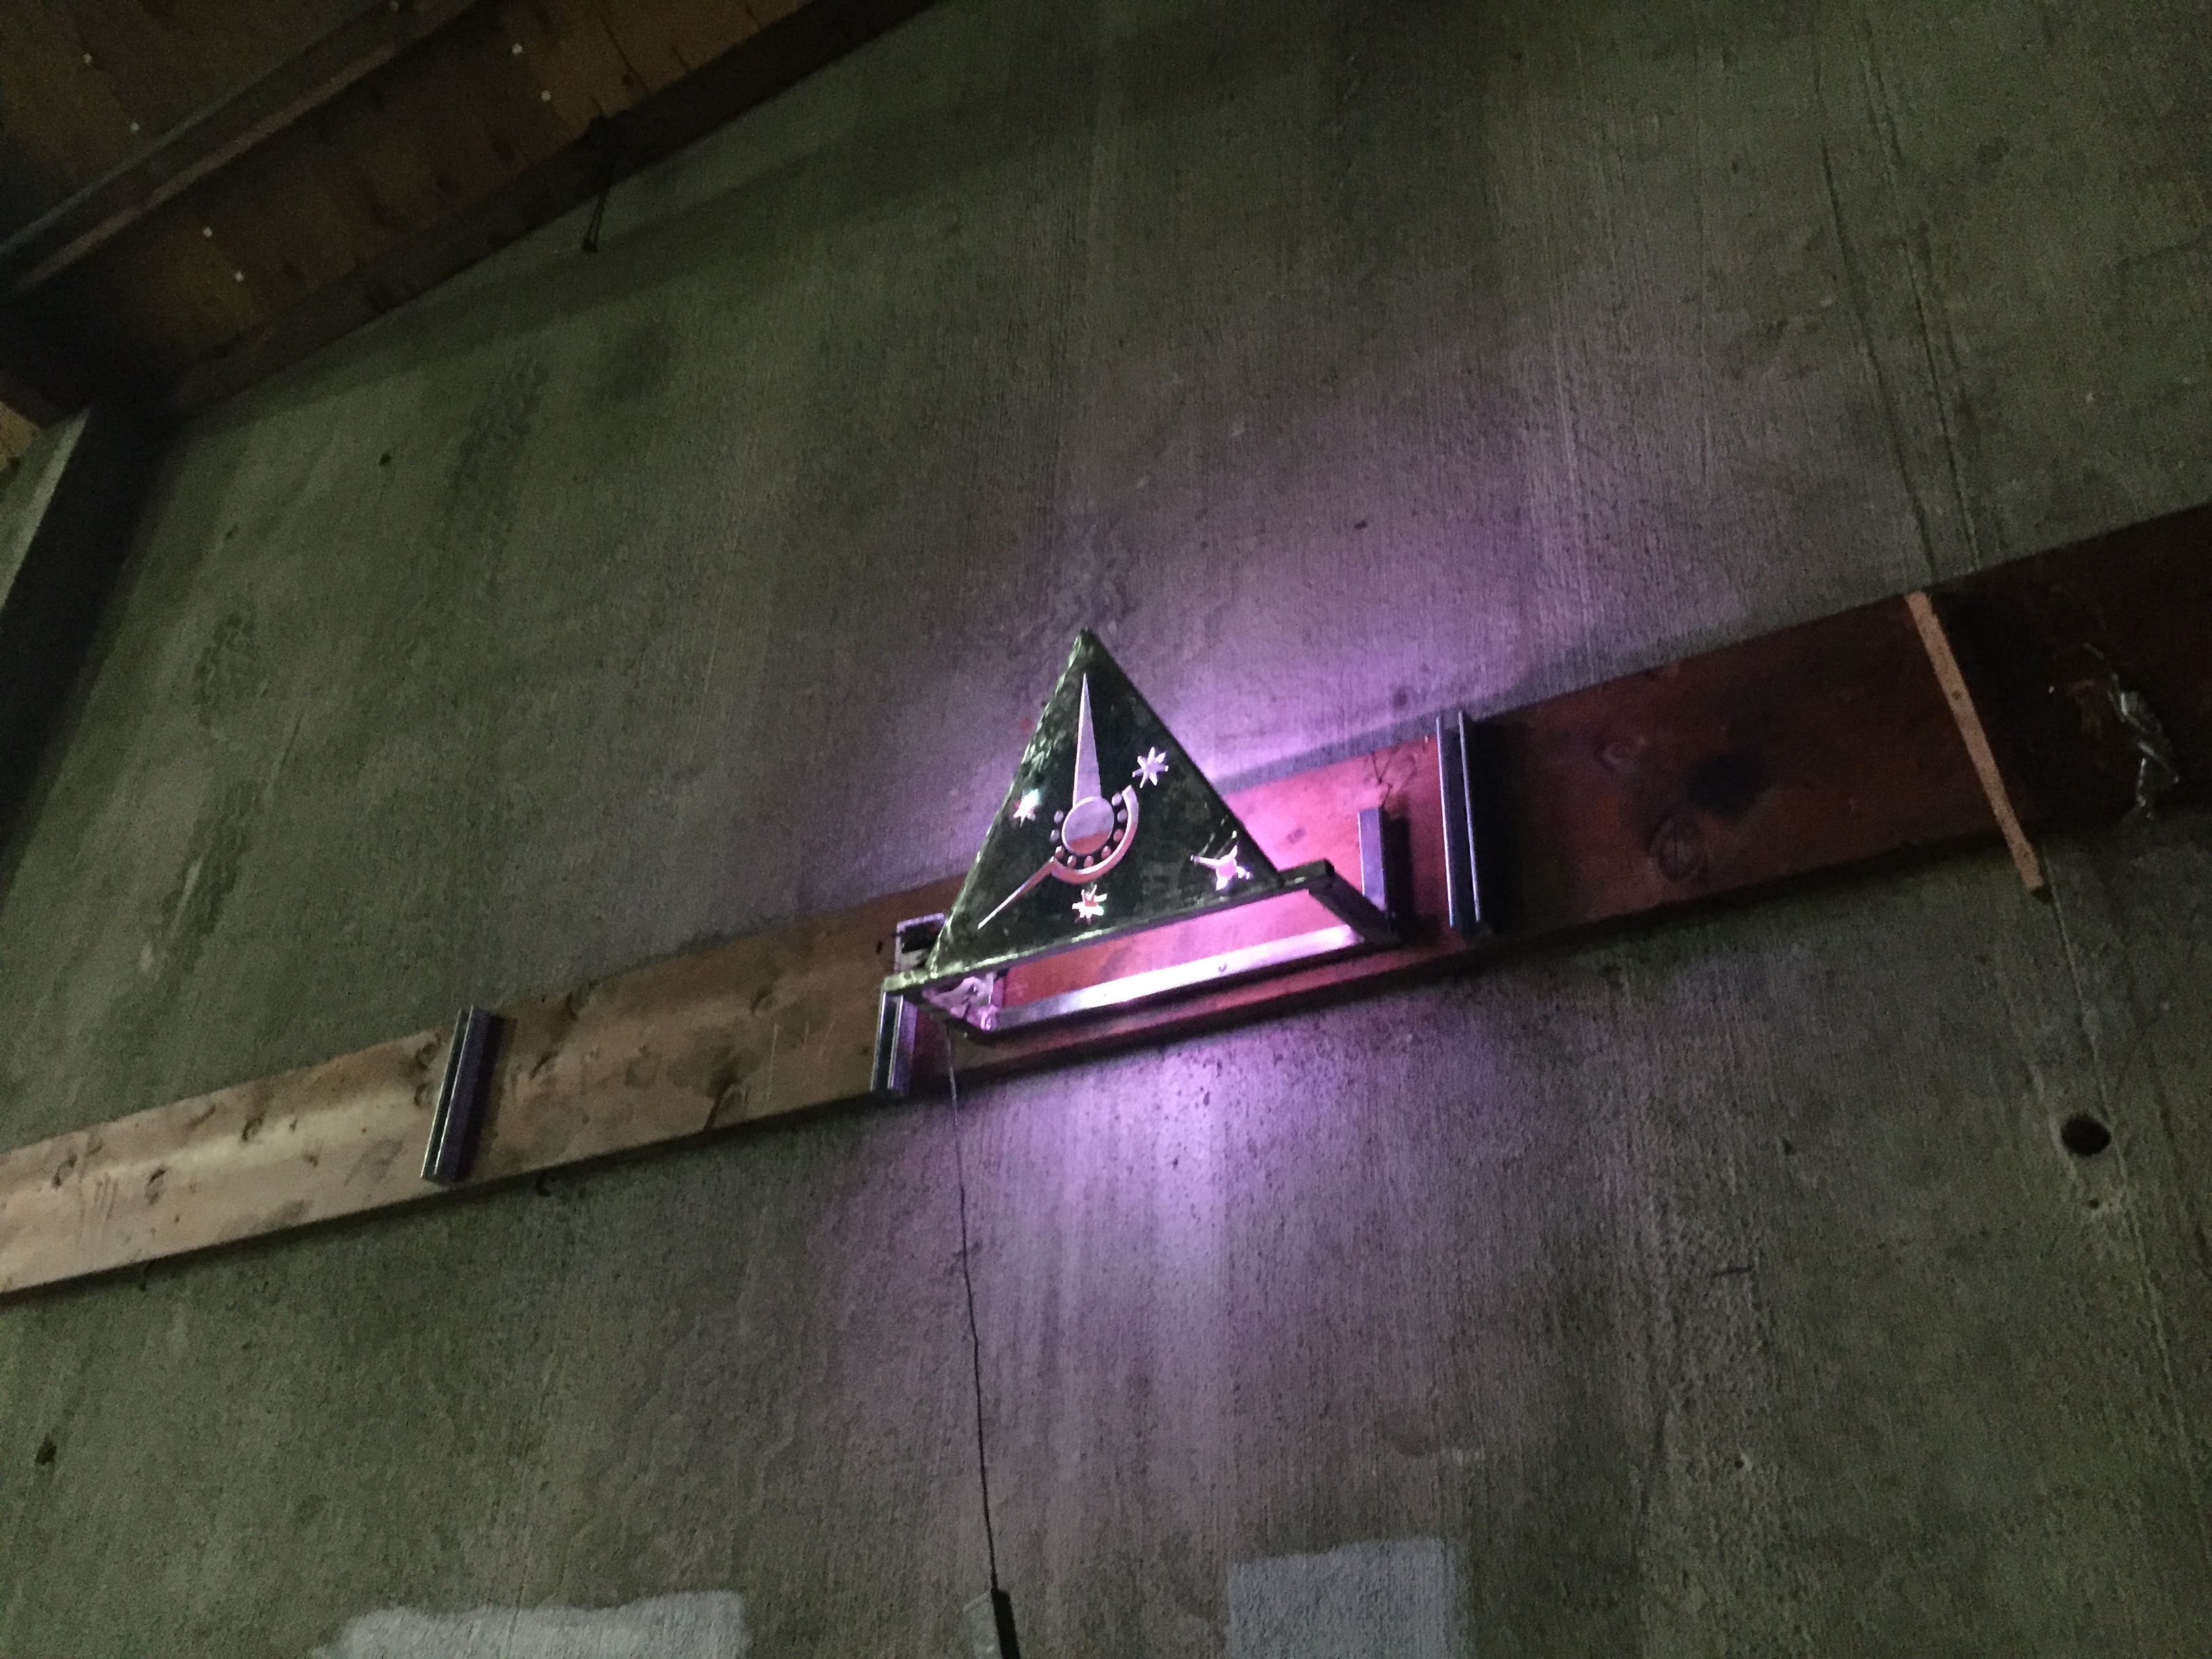
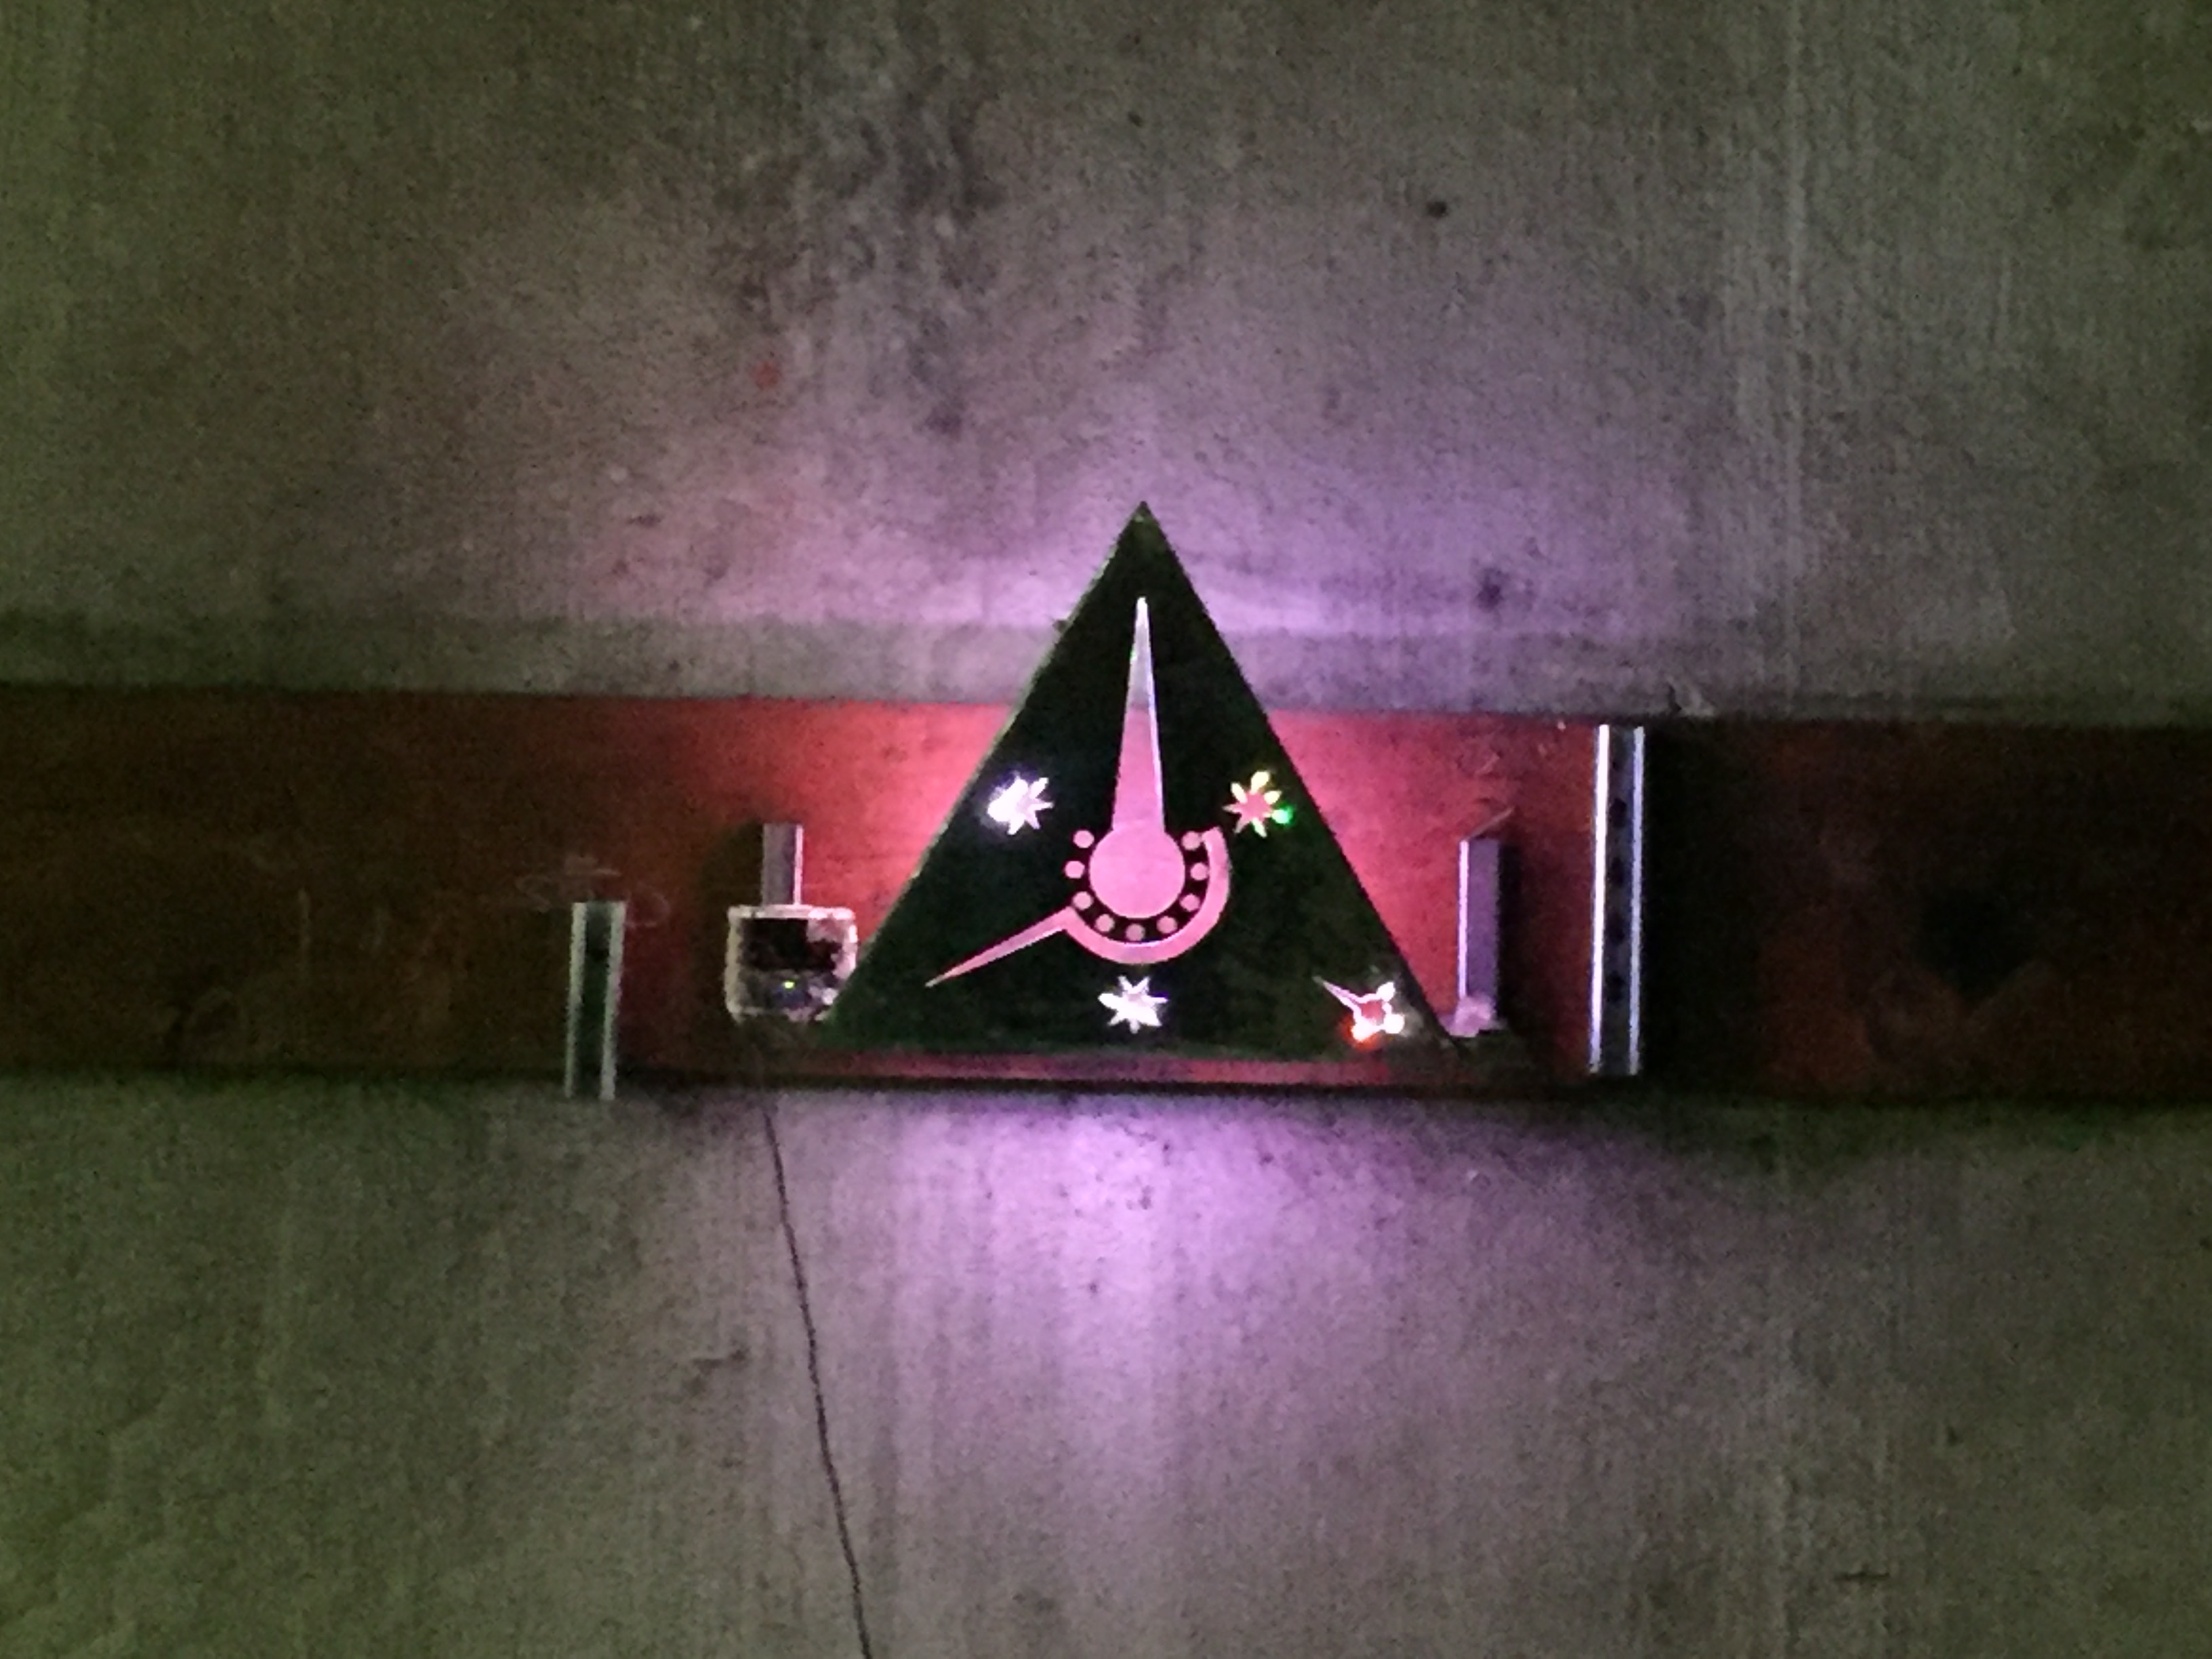
For 2022 we’ve been replacing the sections of the vehicle (besides driver and bar shade) that were previously fabric panels, completely rebuilding the upper fin and wings, and building more extensive flame effects into the fin.
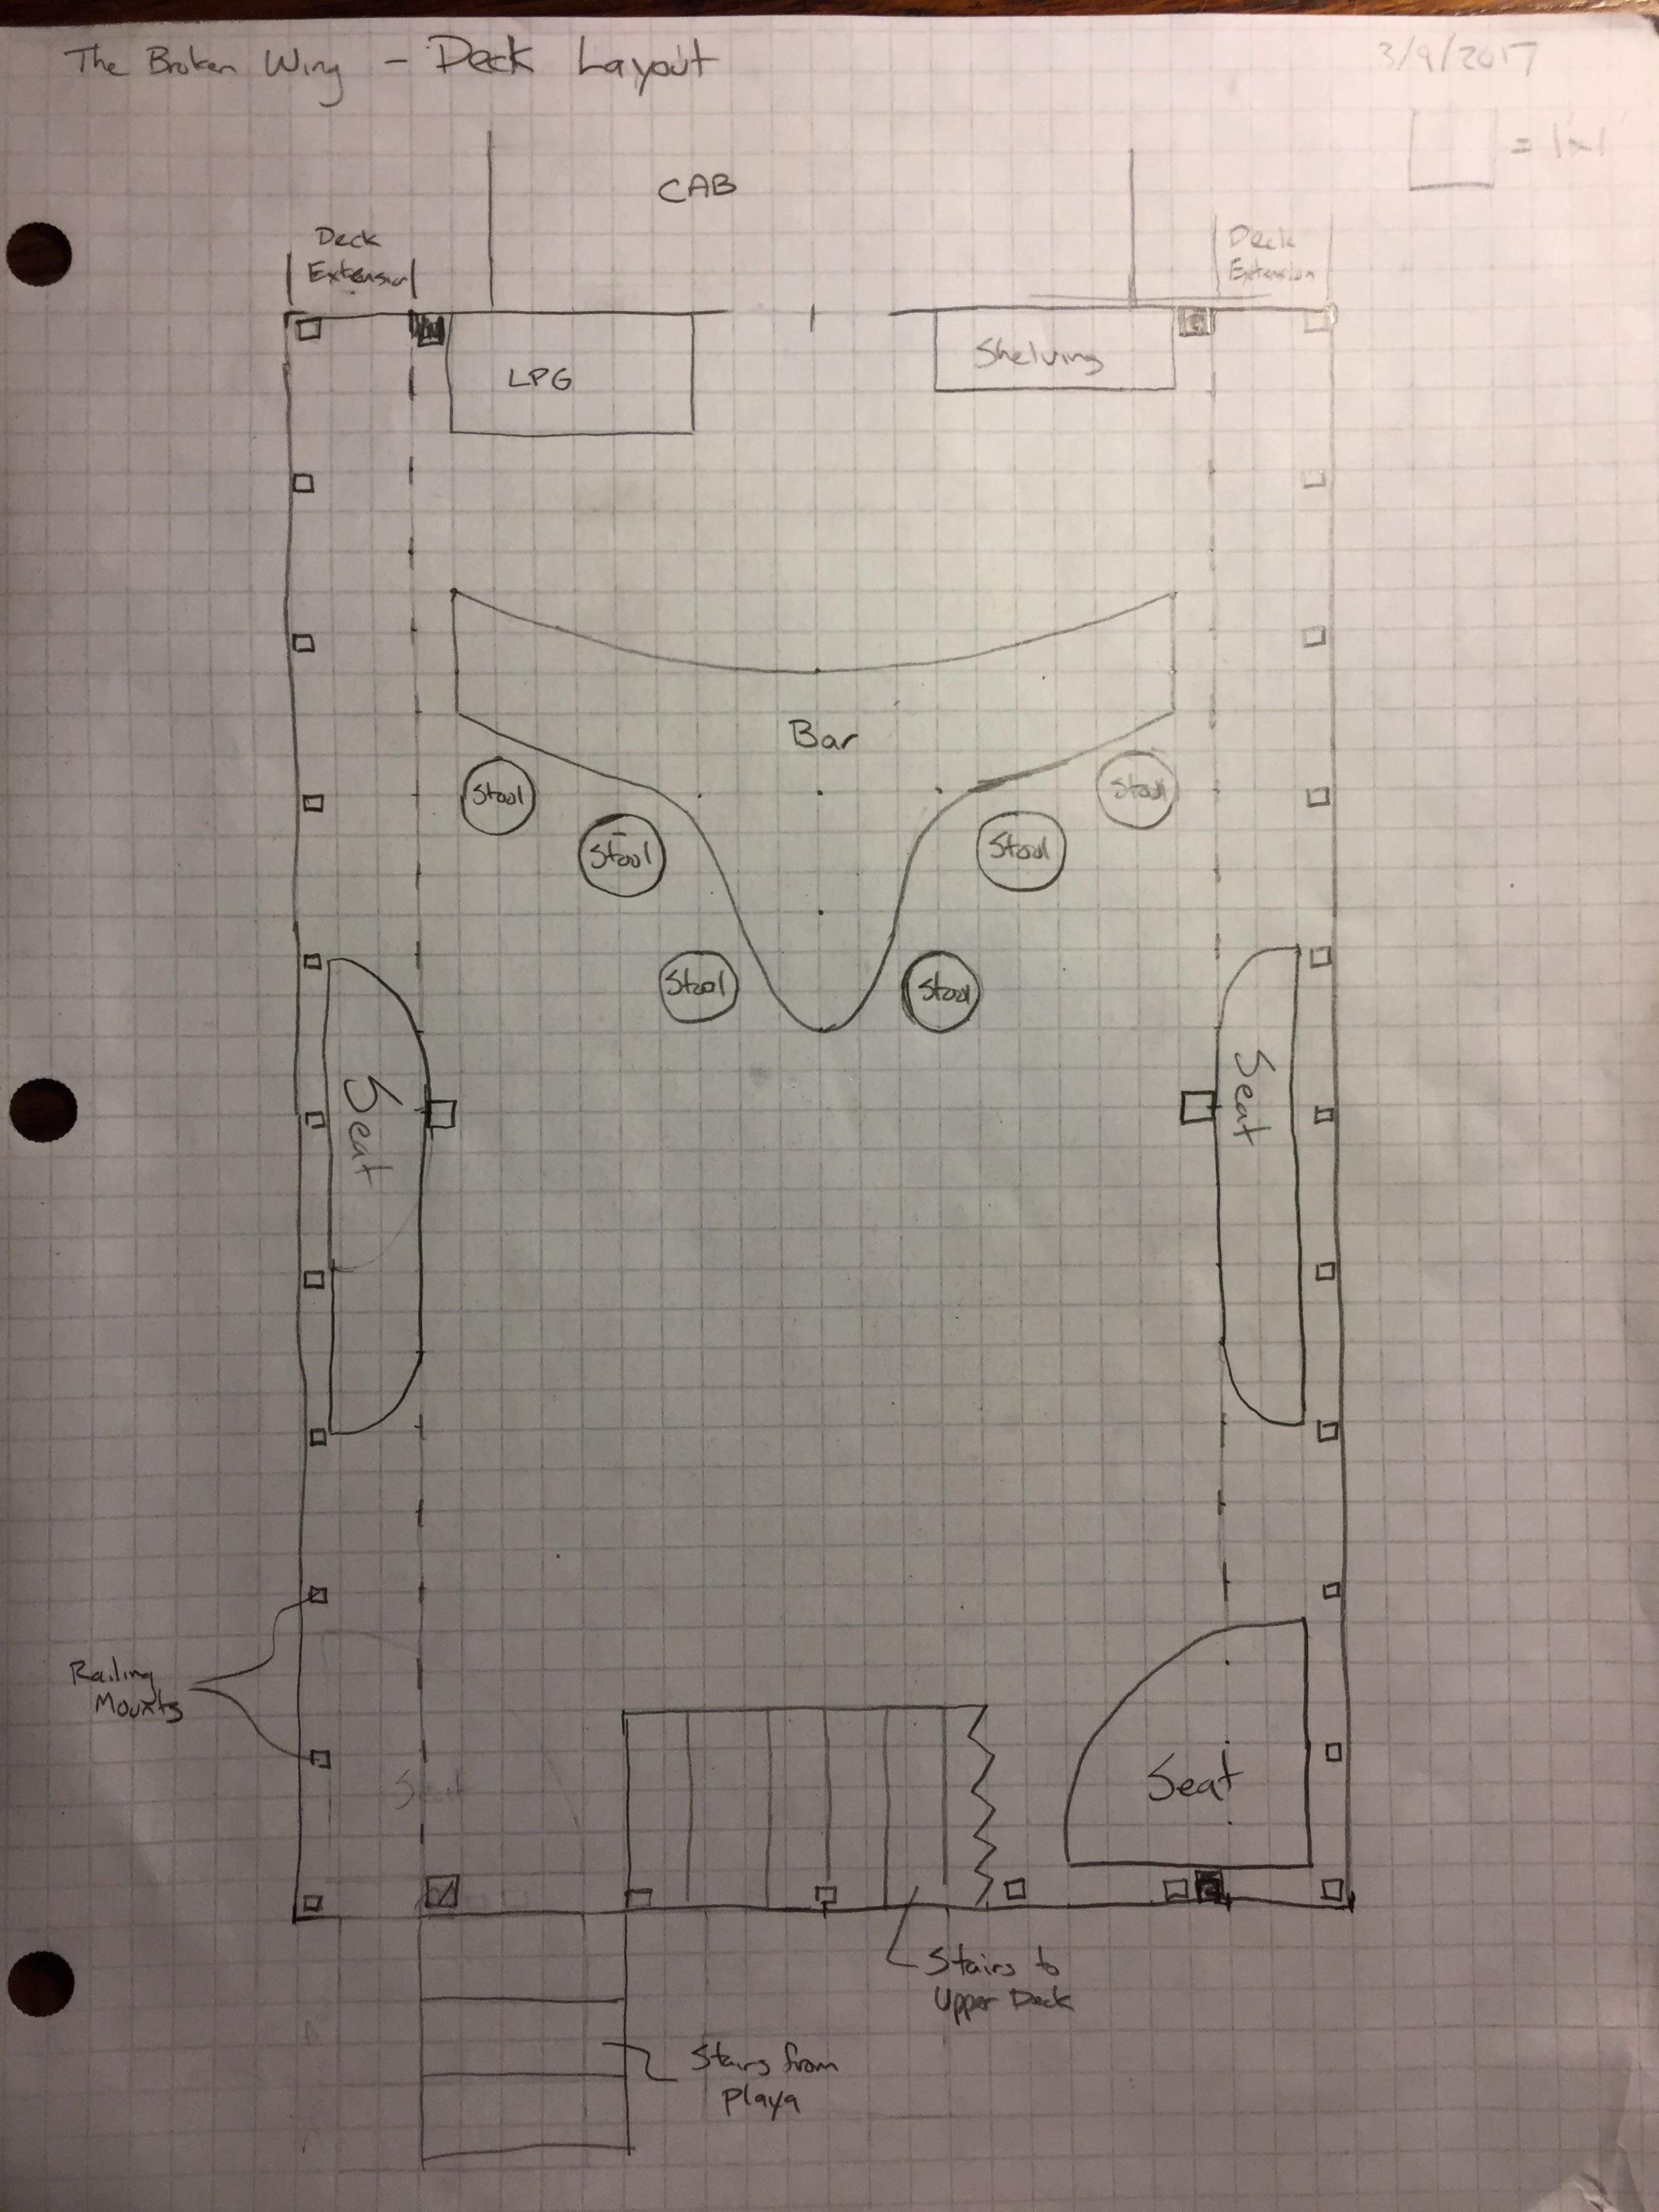
I’m using this to post a few notes and photos related to a mutant vehicle application I’m putting in for this year’s Burning Man. This post is really just for collecting additional data for the application, I’ll fill in more details later.
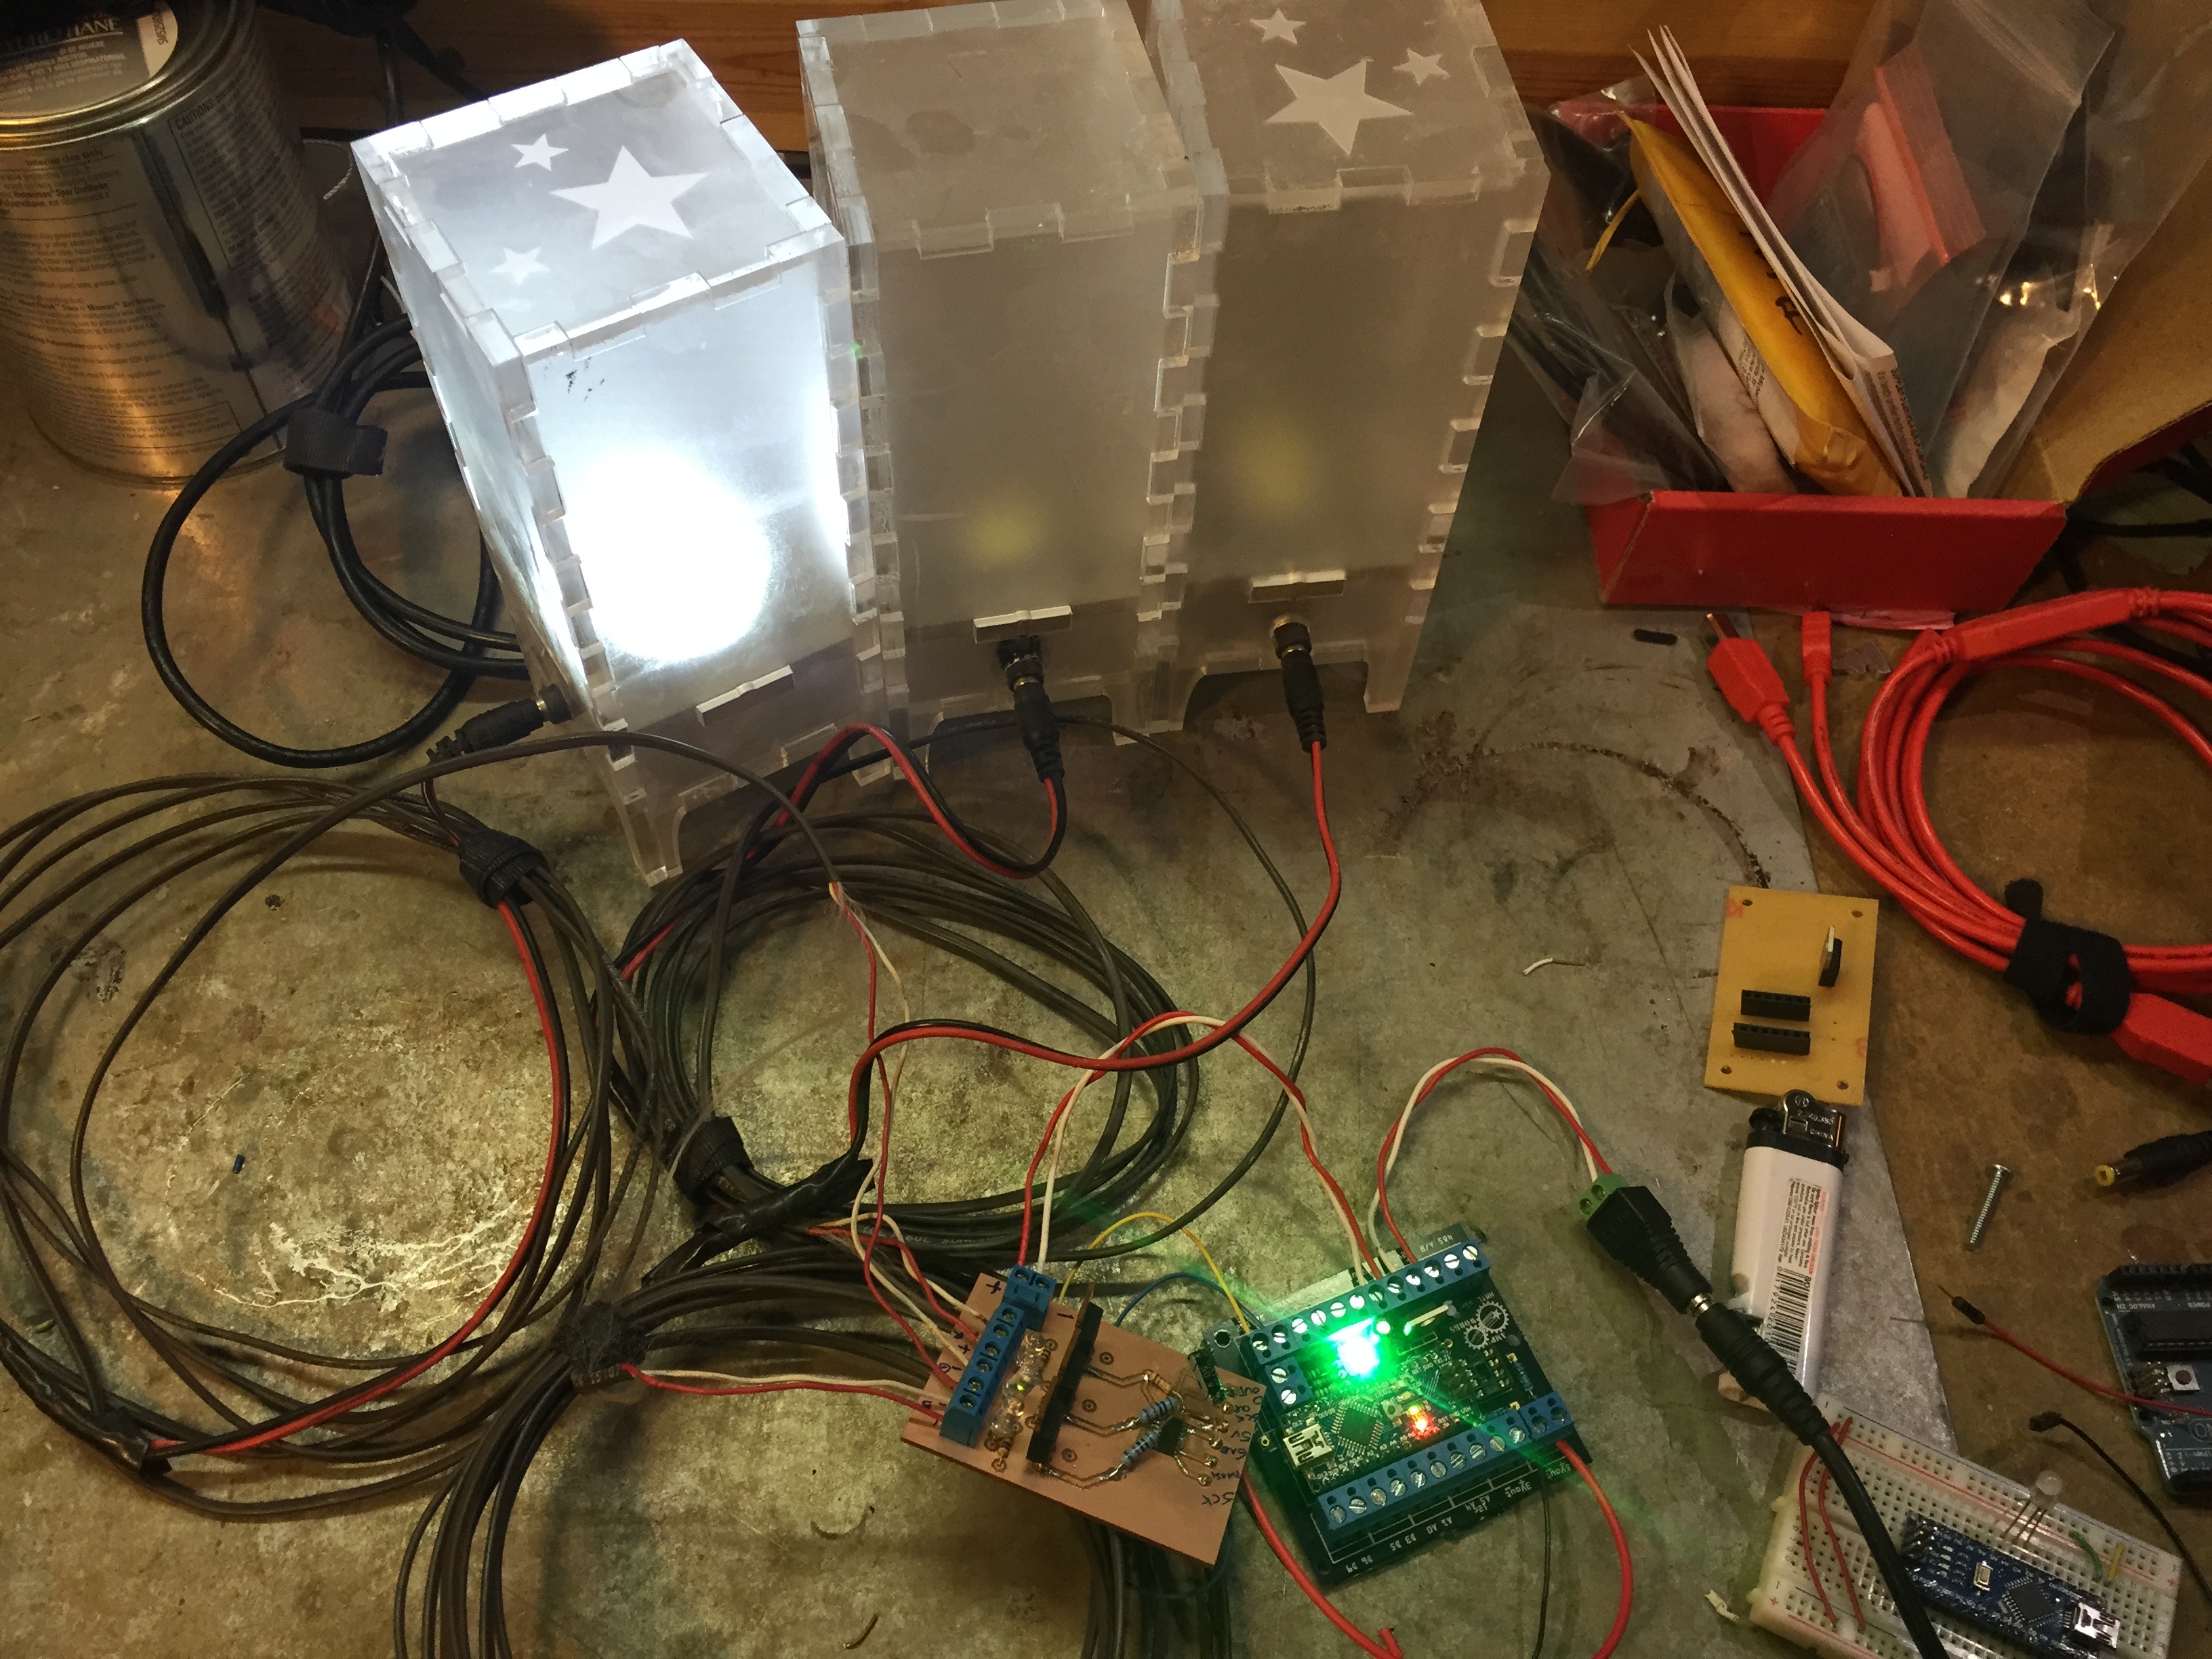
For a while now I’ve been working on an Arduino based software and hardware framework to control projects I’ve been working on. This started with controllers for the flame effects I’ve brought to Burning Man and several regional events (plus my wedding), and expanded to include interactive table-top lights which I’ve also been using to control flame effects, along with a number of geometric LED art pieces.
My goal with all of this was to come up with a platform to make it relatively easy to build, control, and network such as these. This was both for my own personal use and with the hope that it would eventually make it relatively easy for other people with little electronic or software design experience to also build their own devices to control lights and fire. At this point I want to reach out to the community to see if other folks are interested in collaborating with me, either to just try this out and make their own pieces or to further develop the framework itself, or to collaborate on a large interconnected project I’m contemplating for this year’s burns.
I’m going to make a followup post with more technical details, but in the mean time the code for these projects can be found on my github account:
Here are some examples of what I’ve built using this framework.
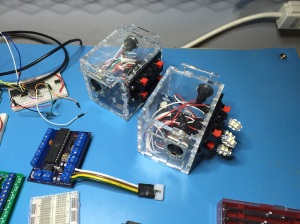
Switching Modules
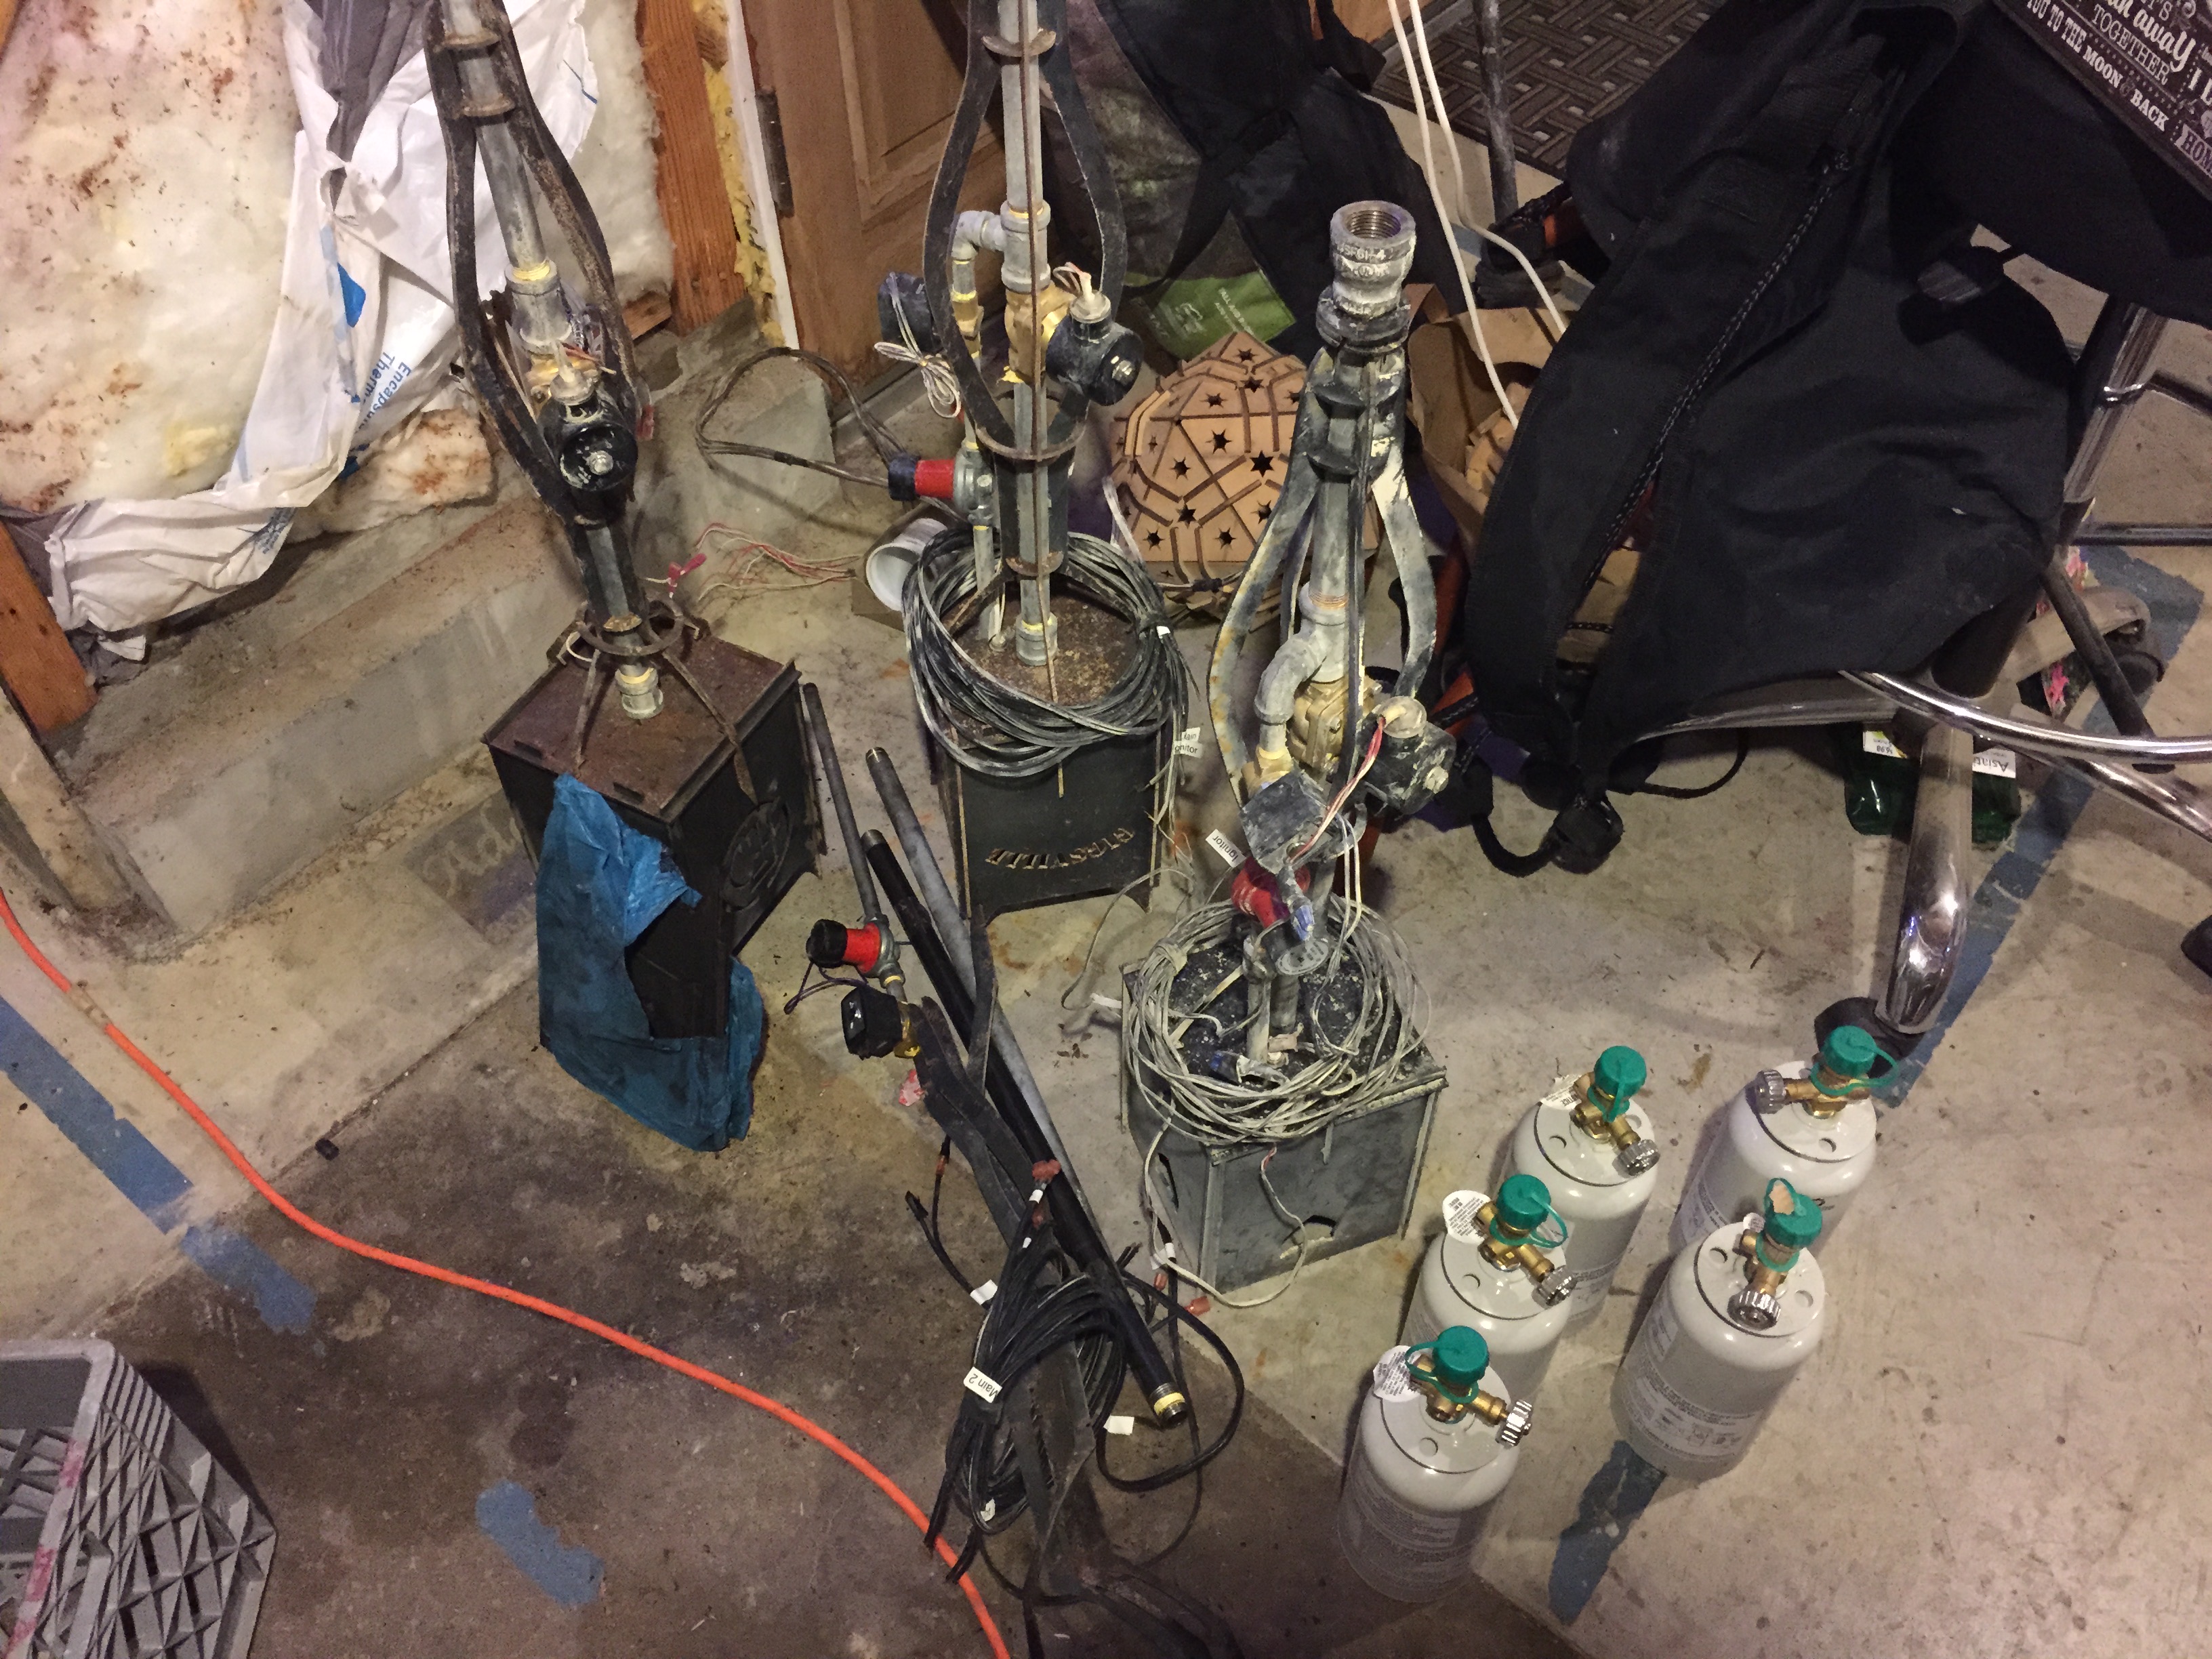
This is the initial module designed for controlling a flame effect or high-voltage LEDs. It has four outputs which can trigger any DC devices of reasonably low-power (~20W) and are networked and addressable so that a number of them can be connected and controlled from a computer or another device. I’ve used these to run high power LEDs as well as valves and igniters for flame effects.
120V switching
This module can also be used to trigger external relays powering devices using household 120V power, I’ve built a few power cords with built-in relays that these can be used with.
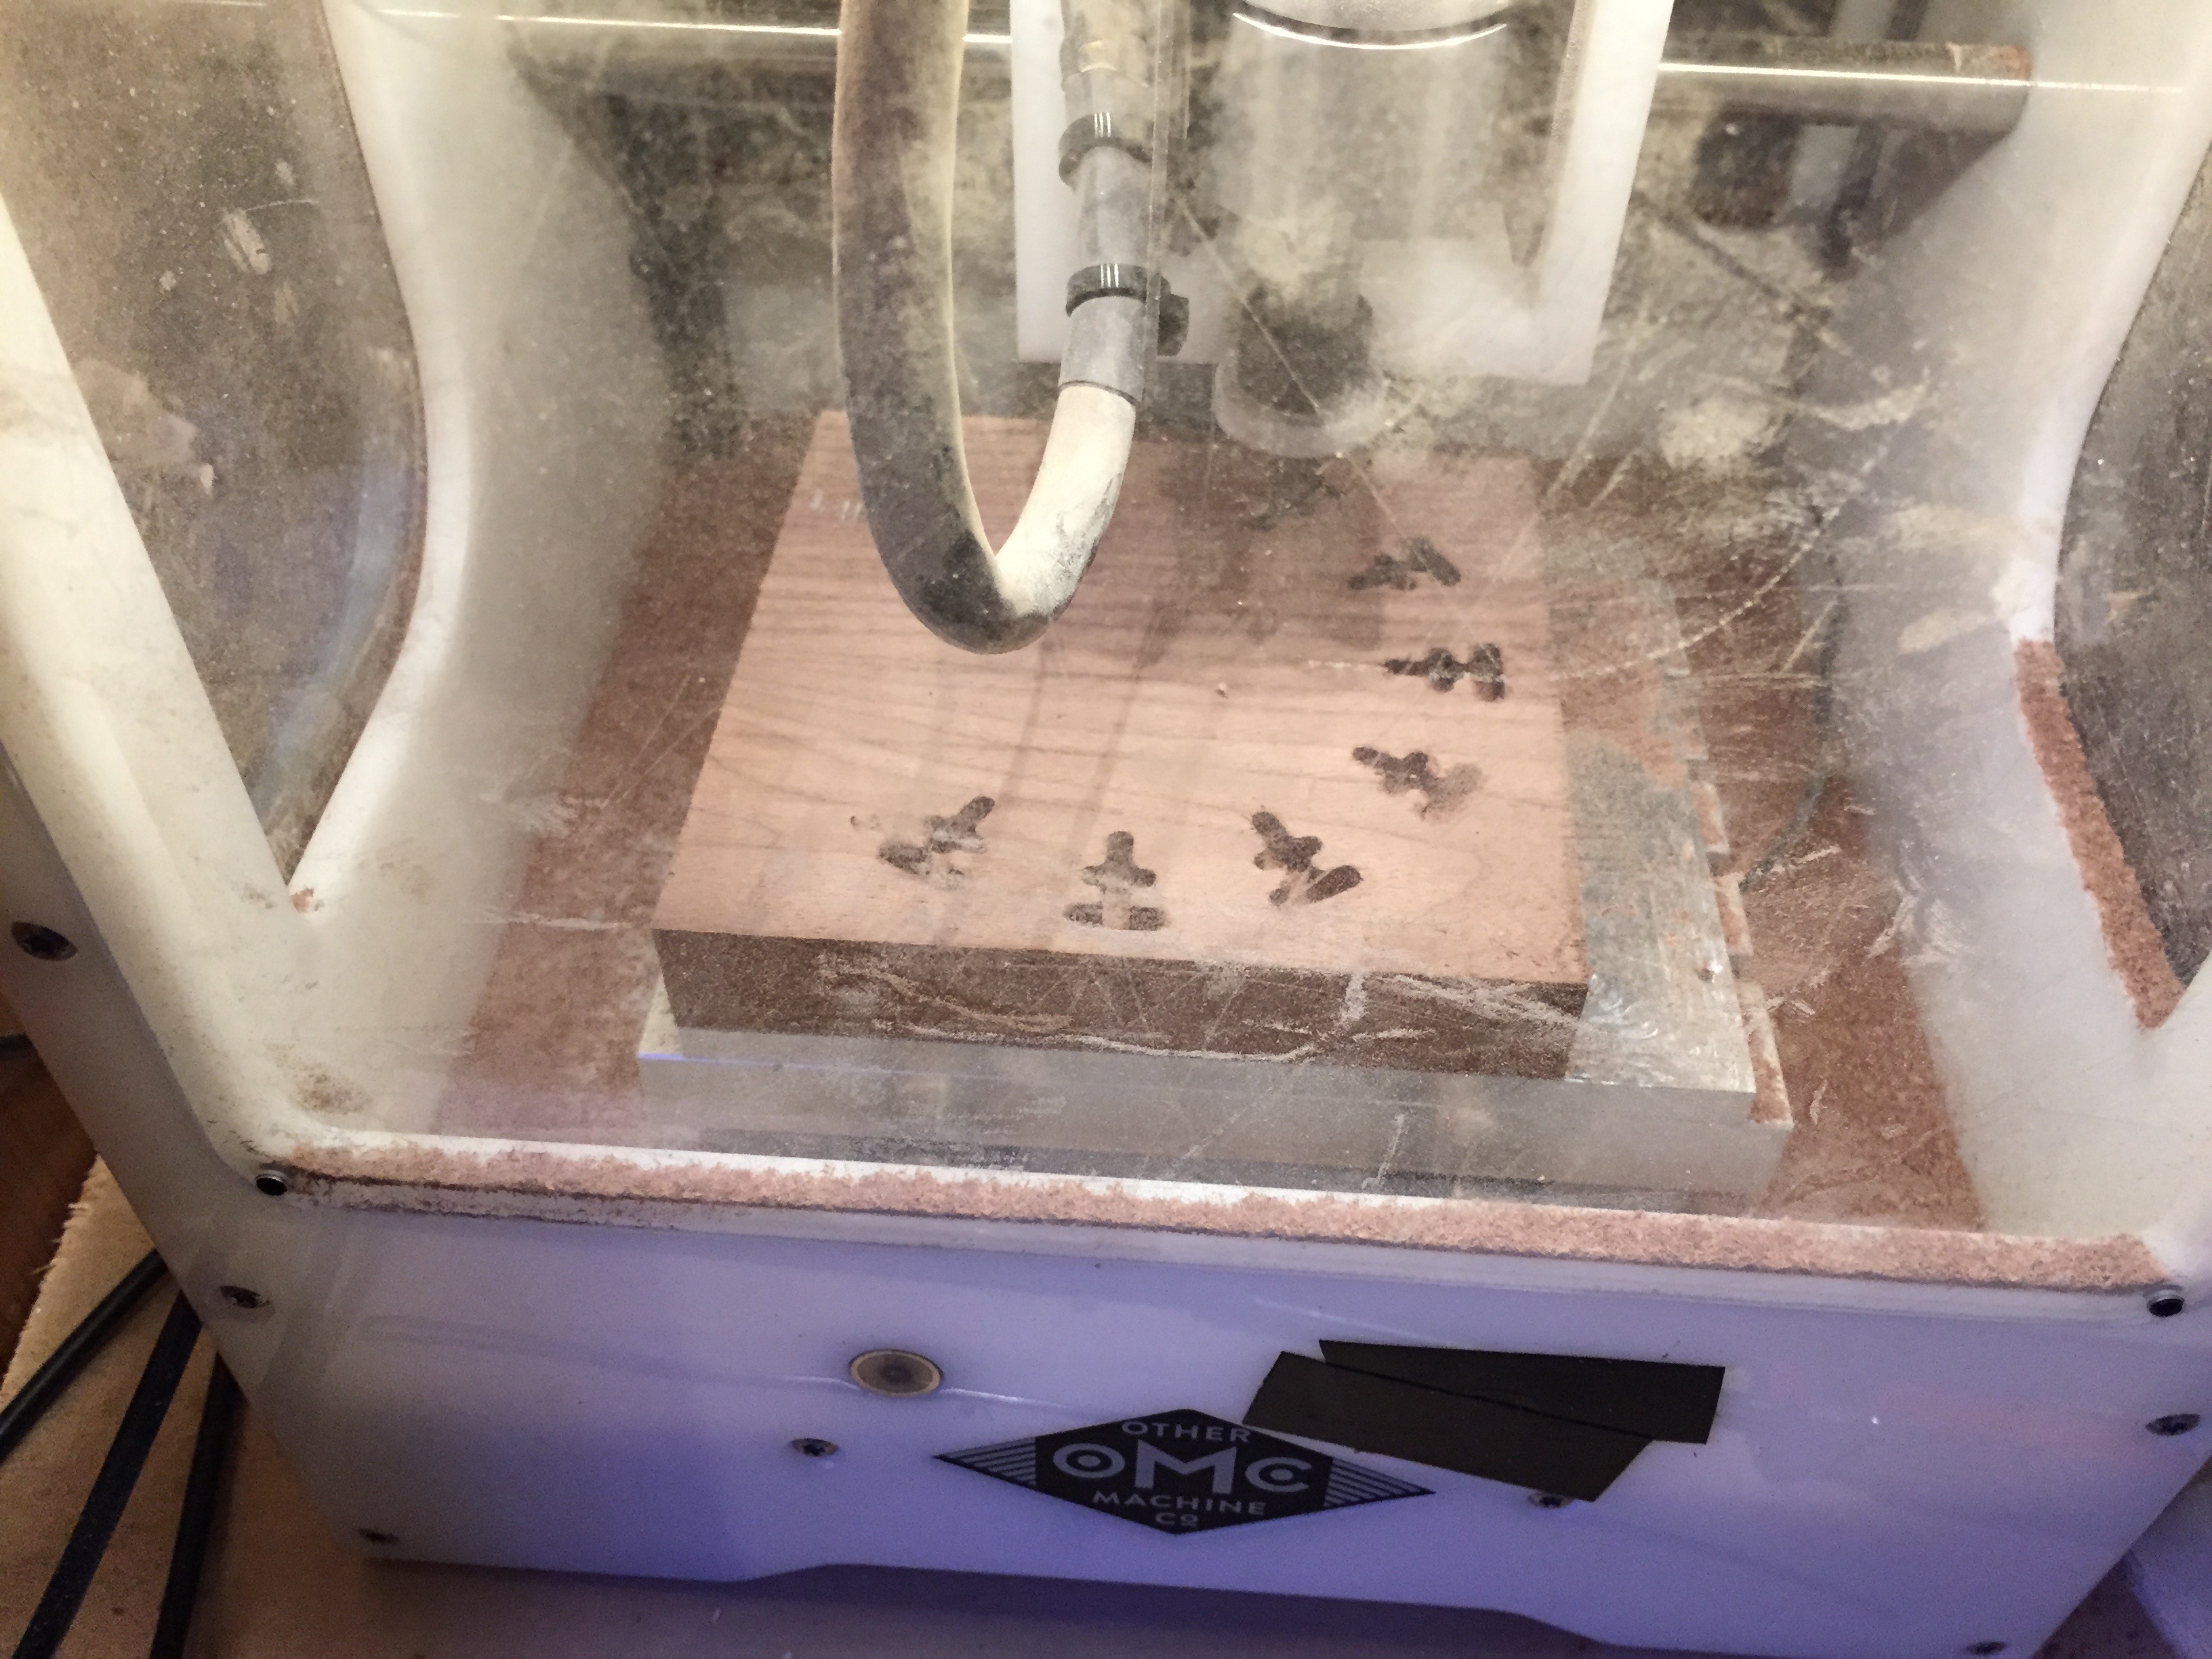
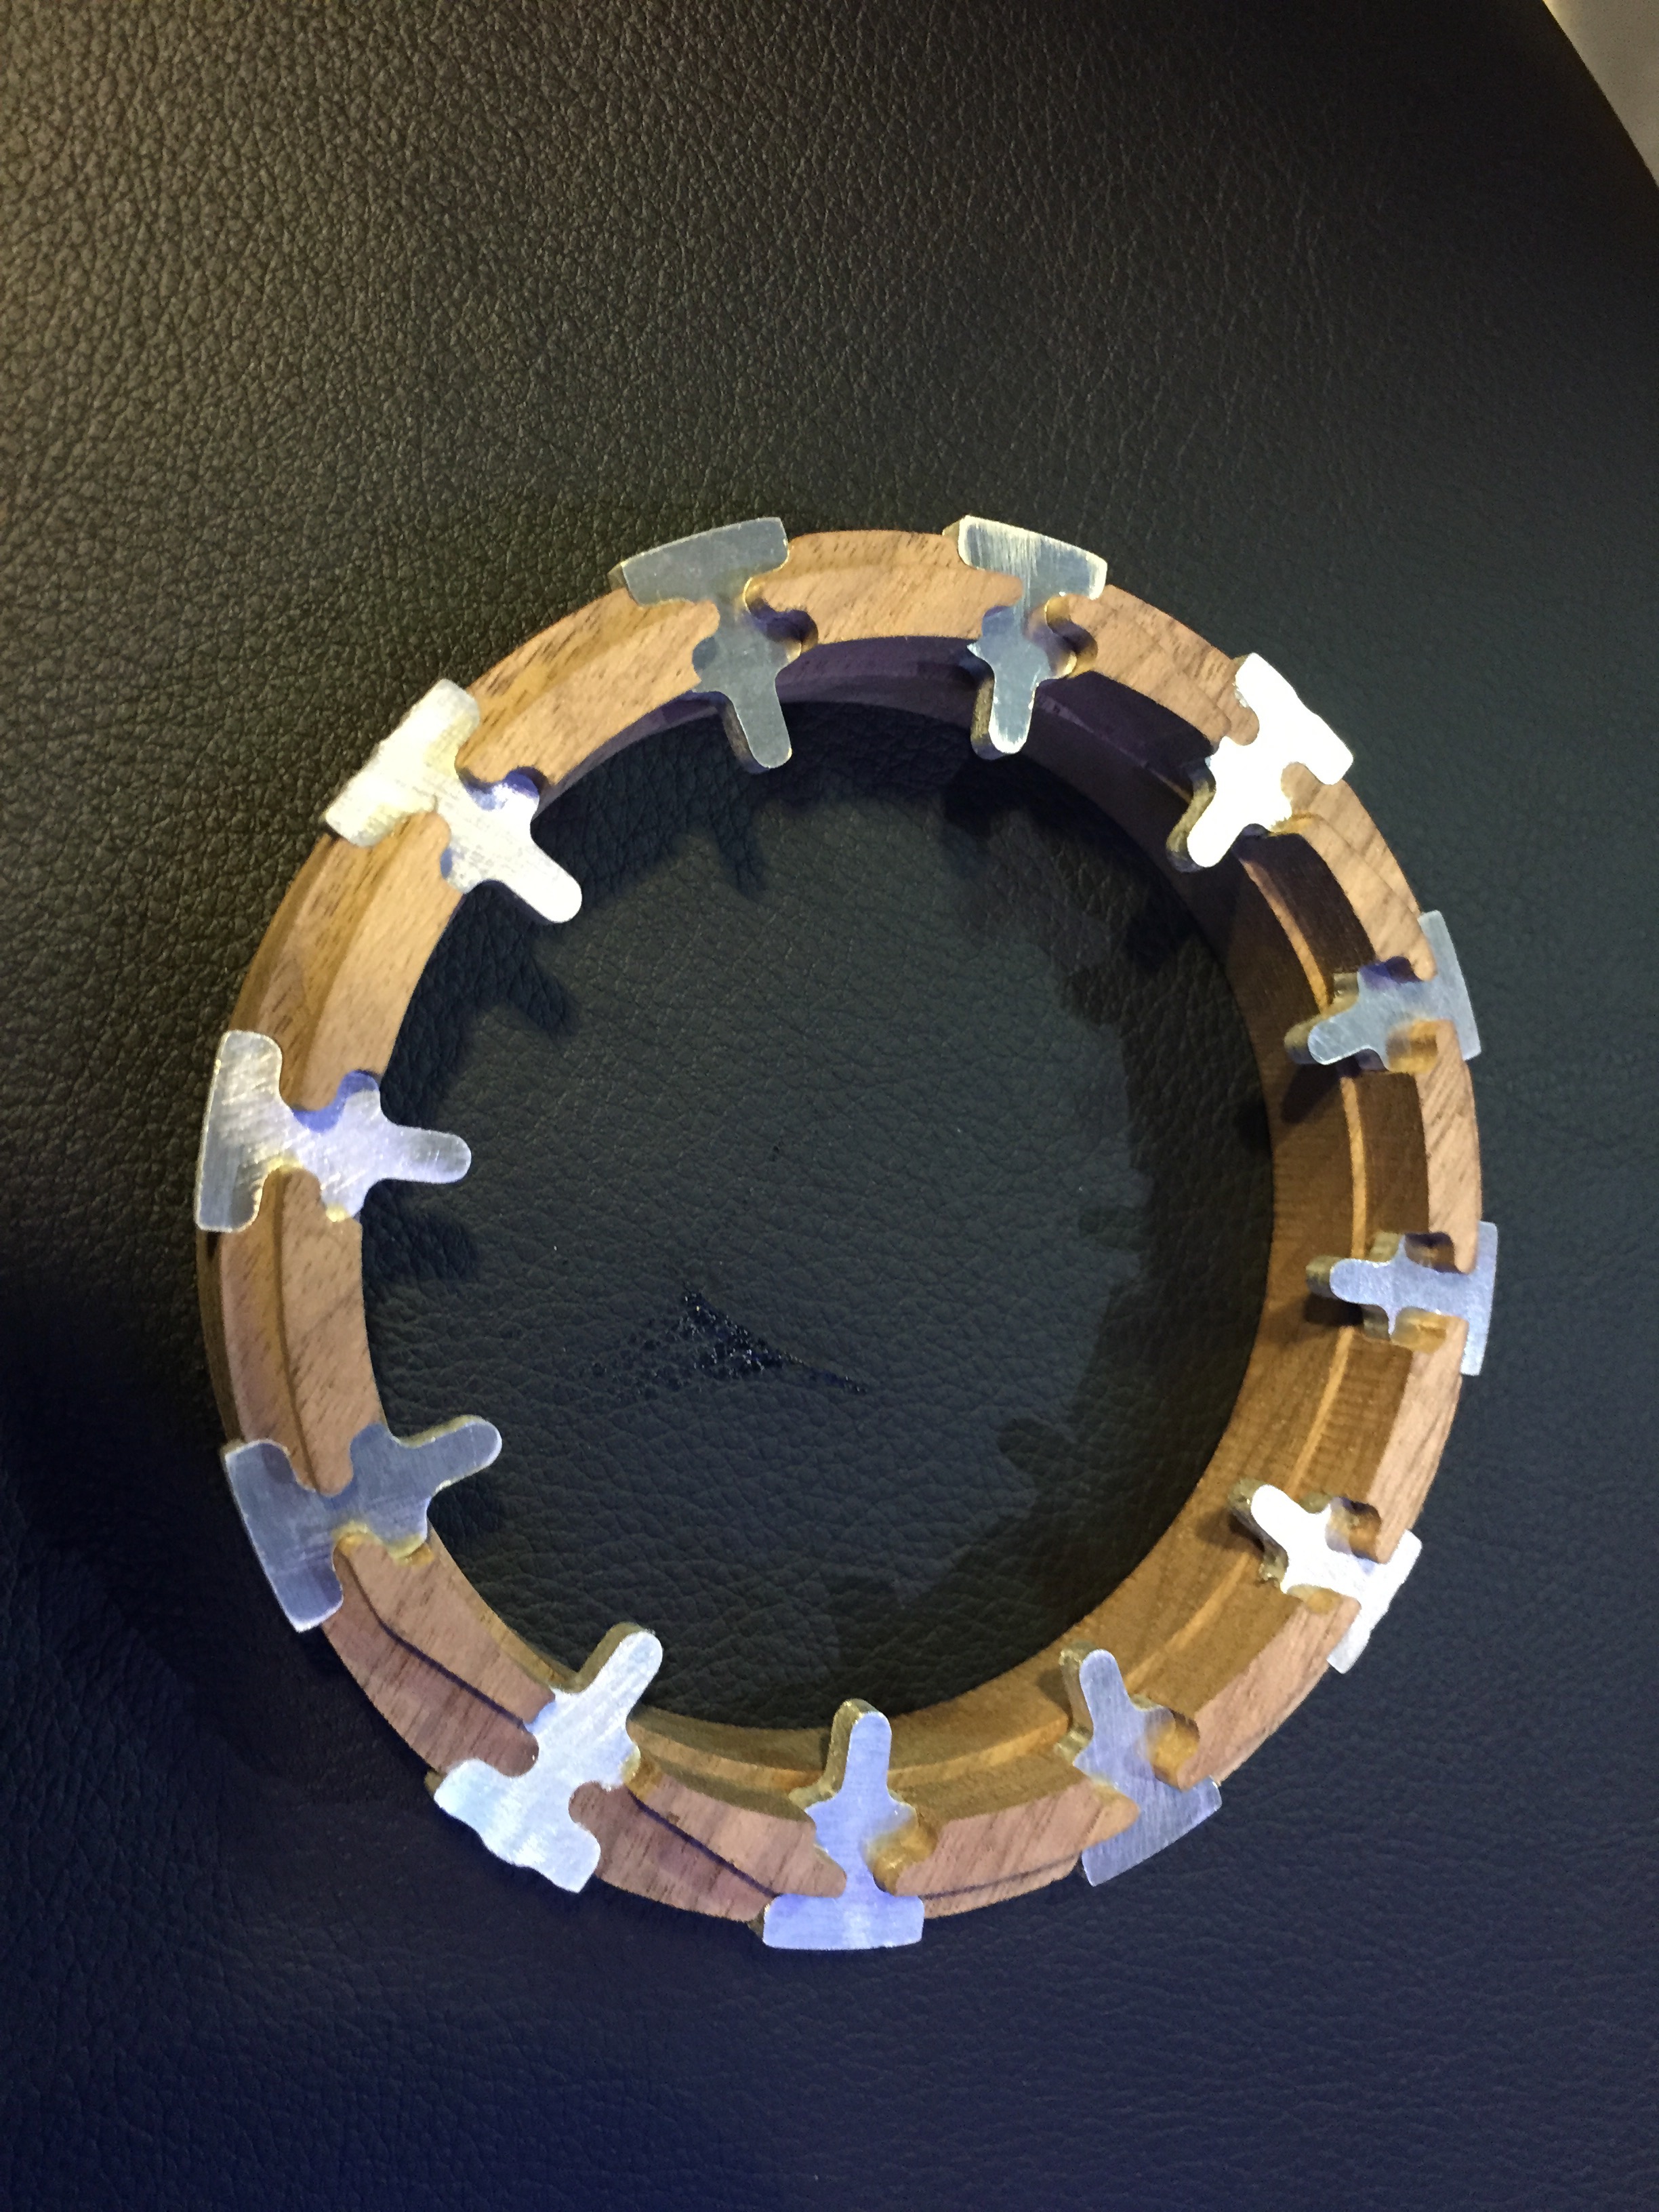
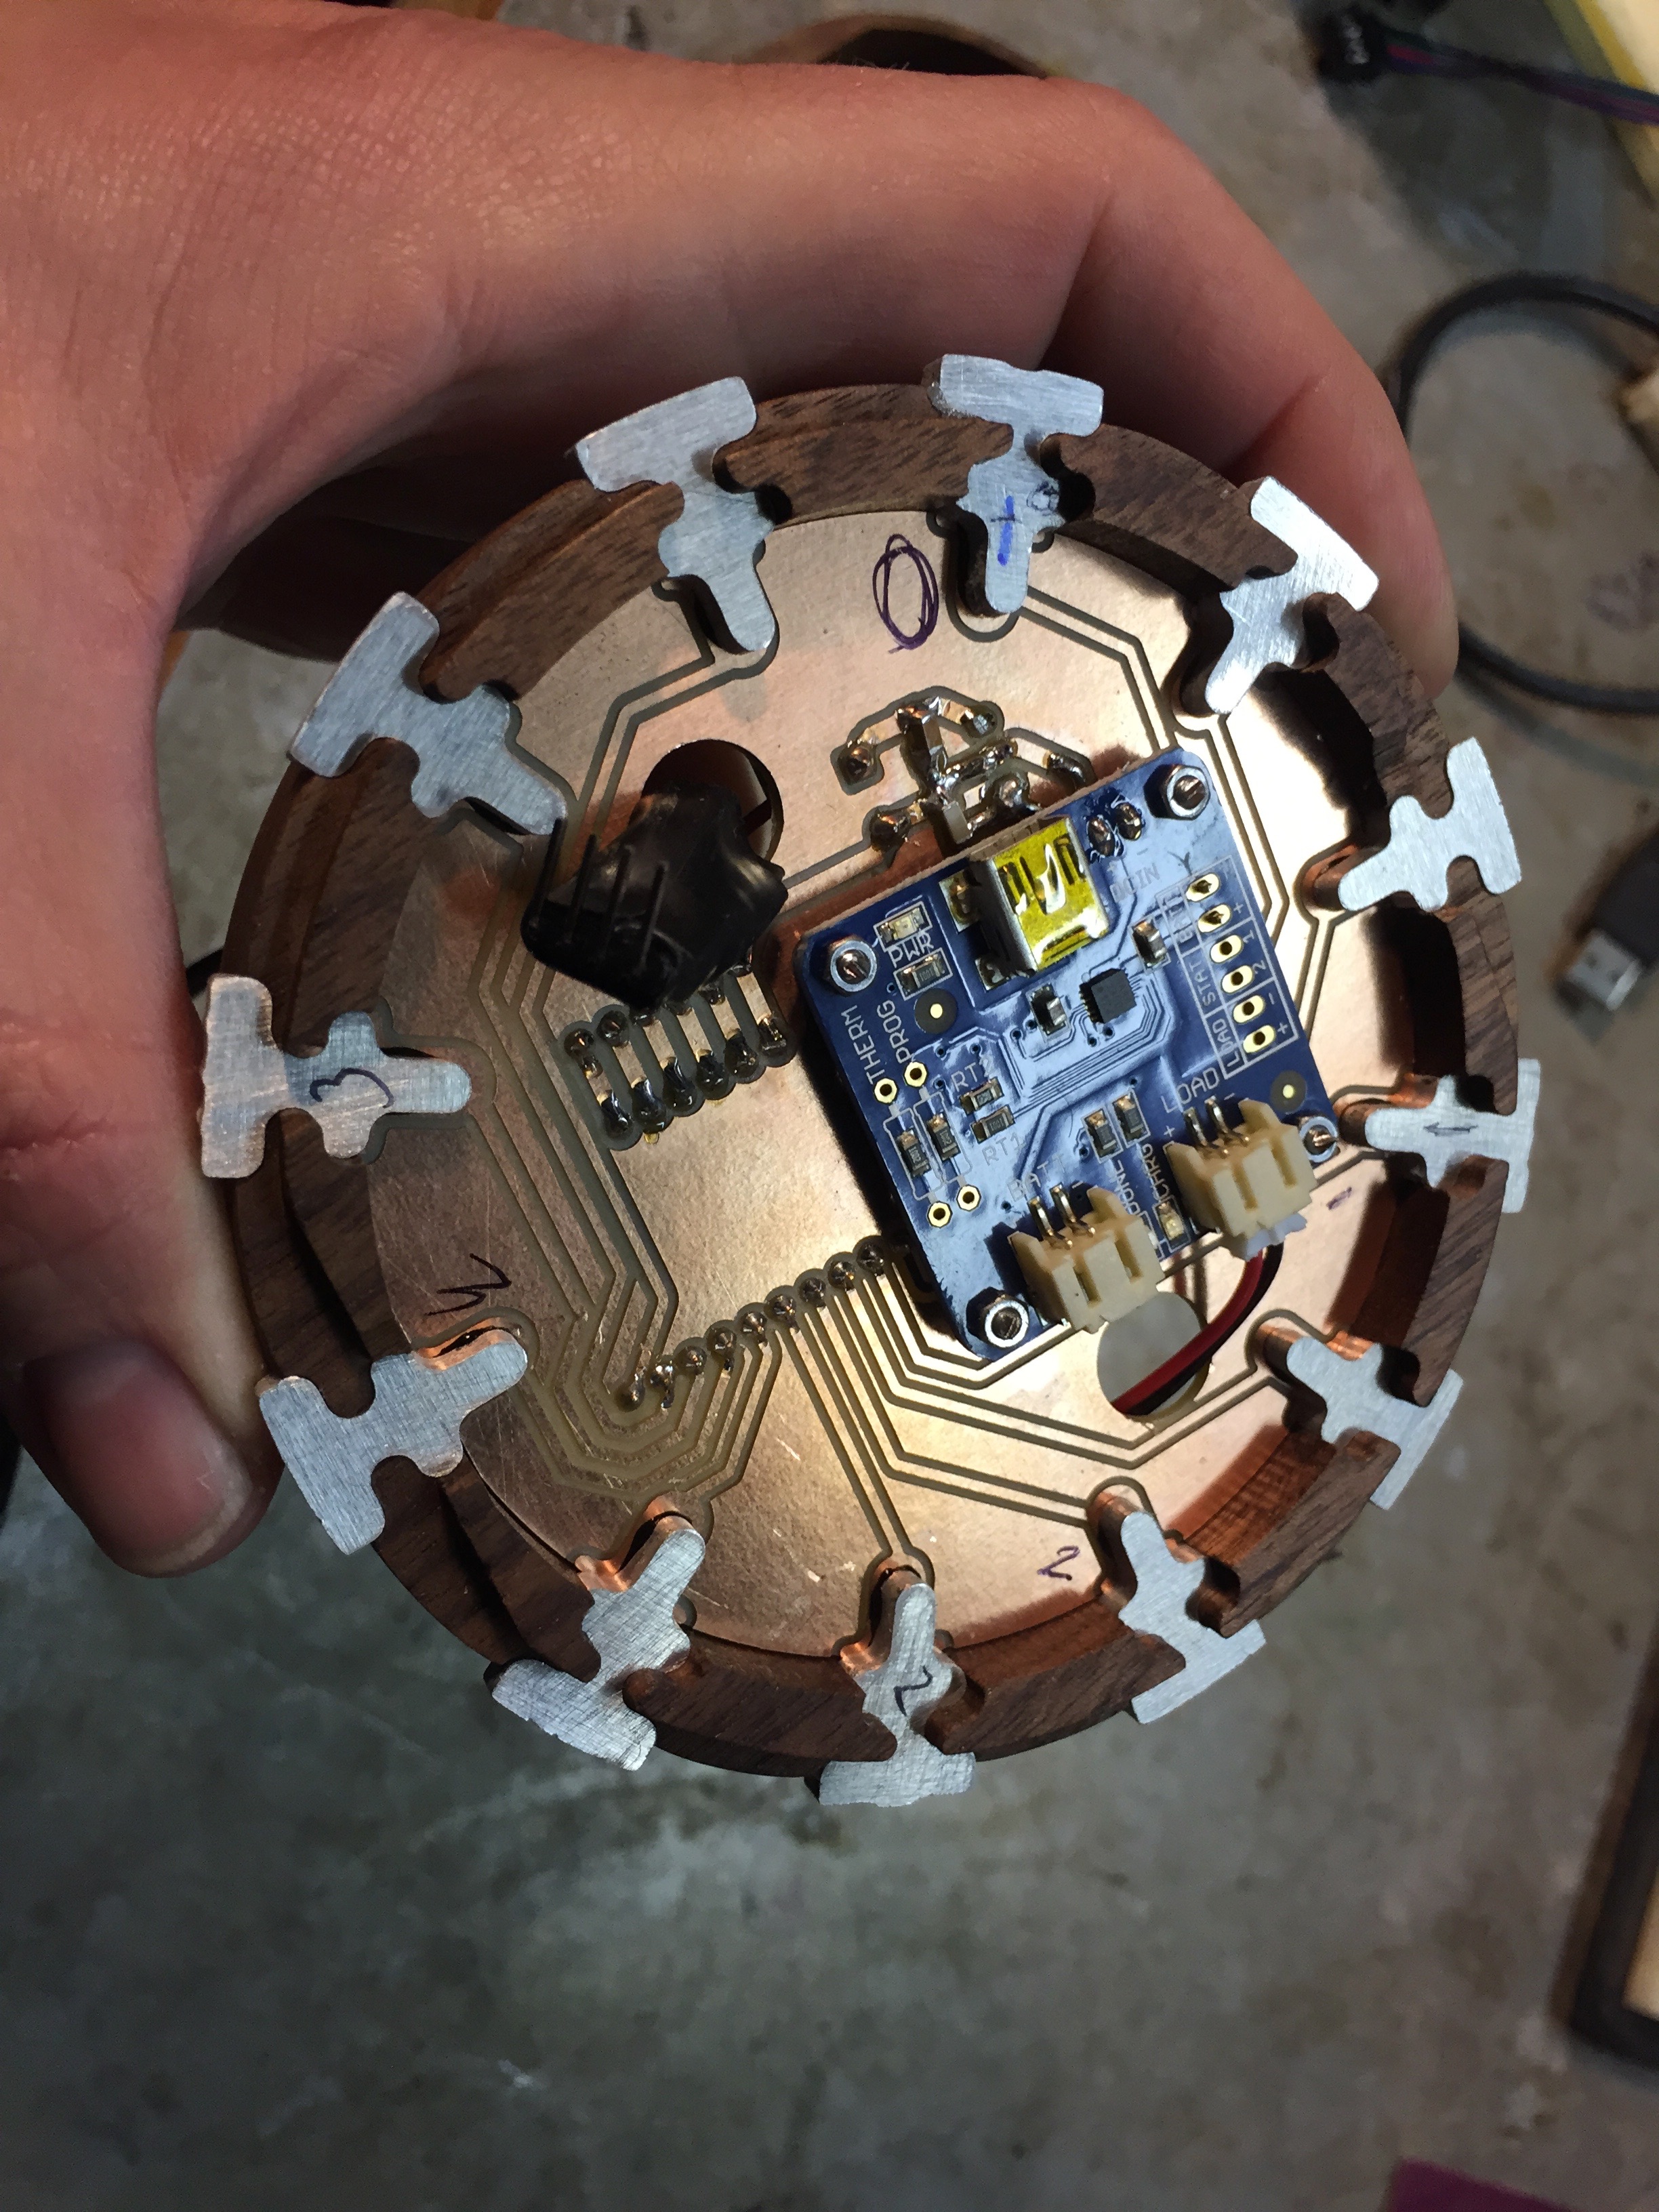
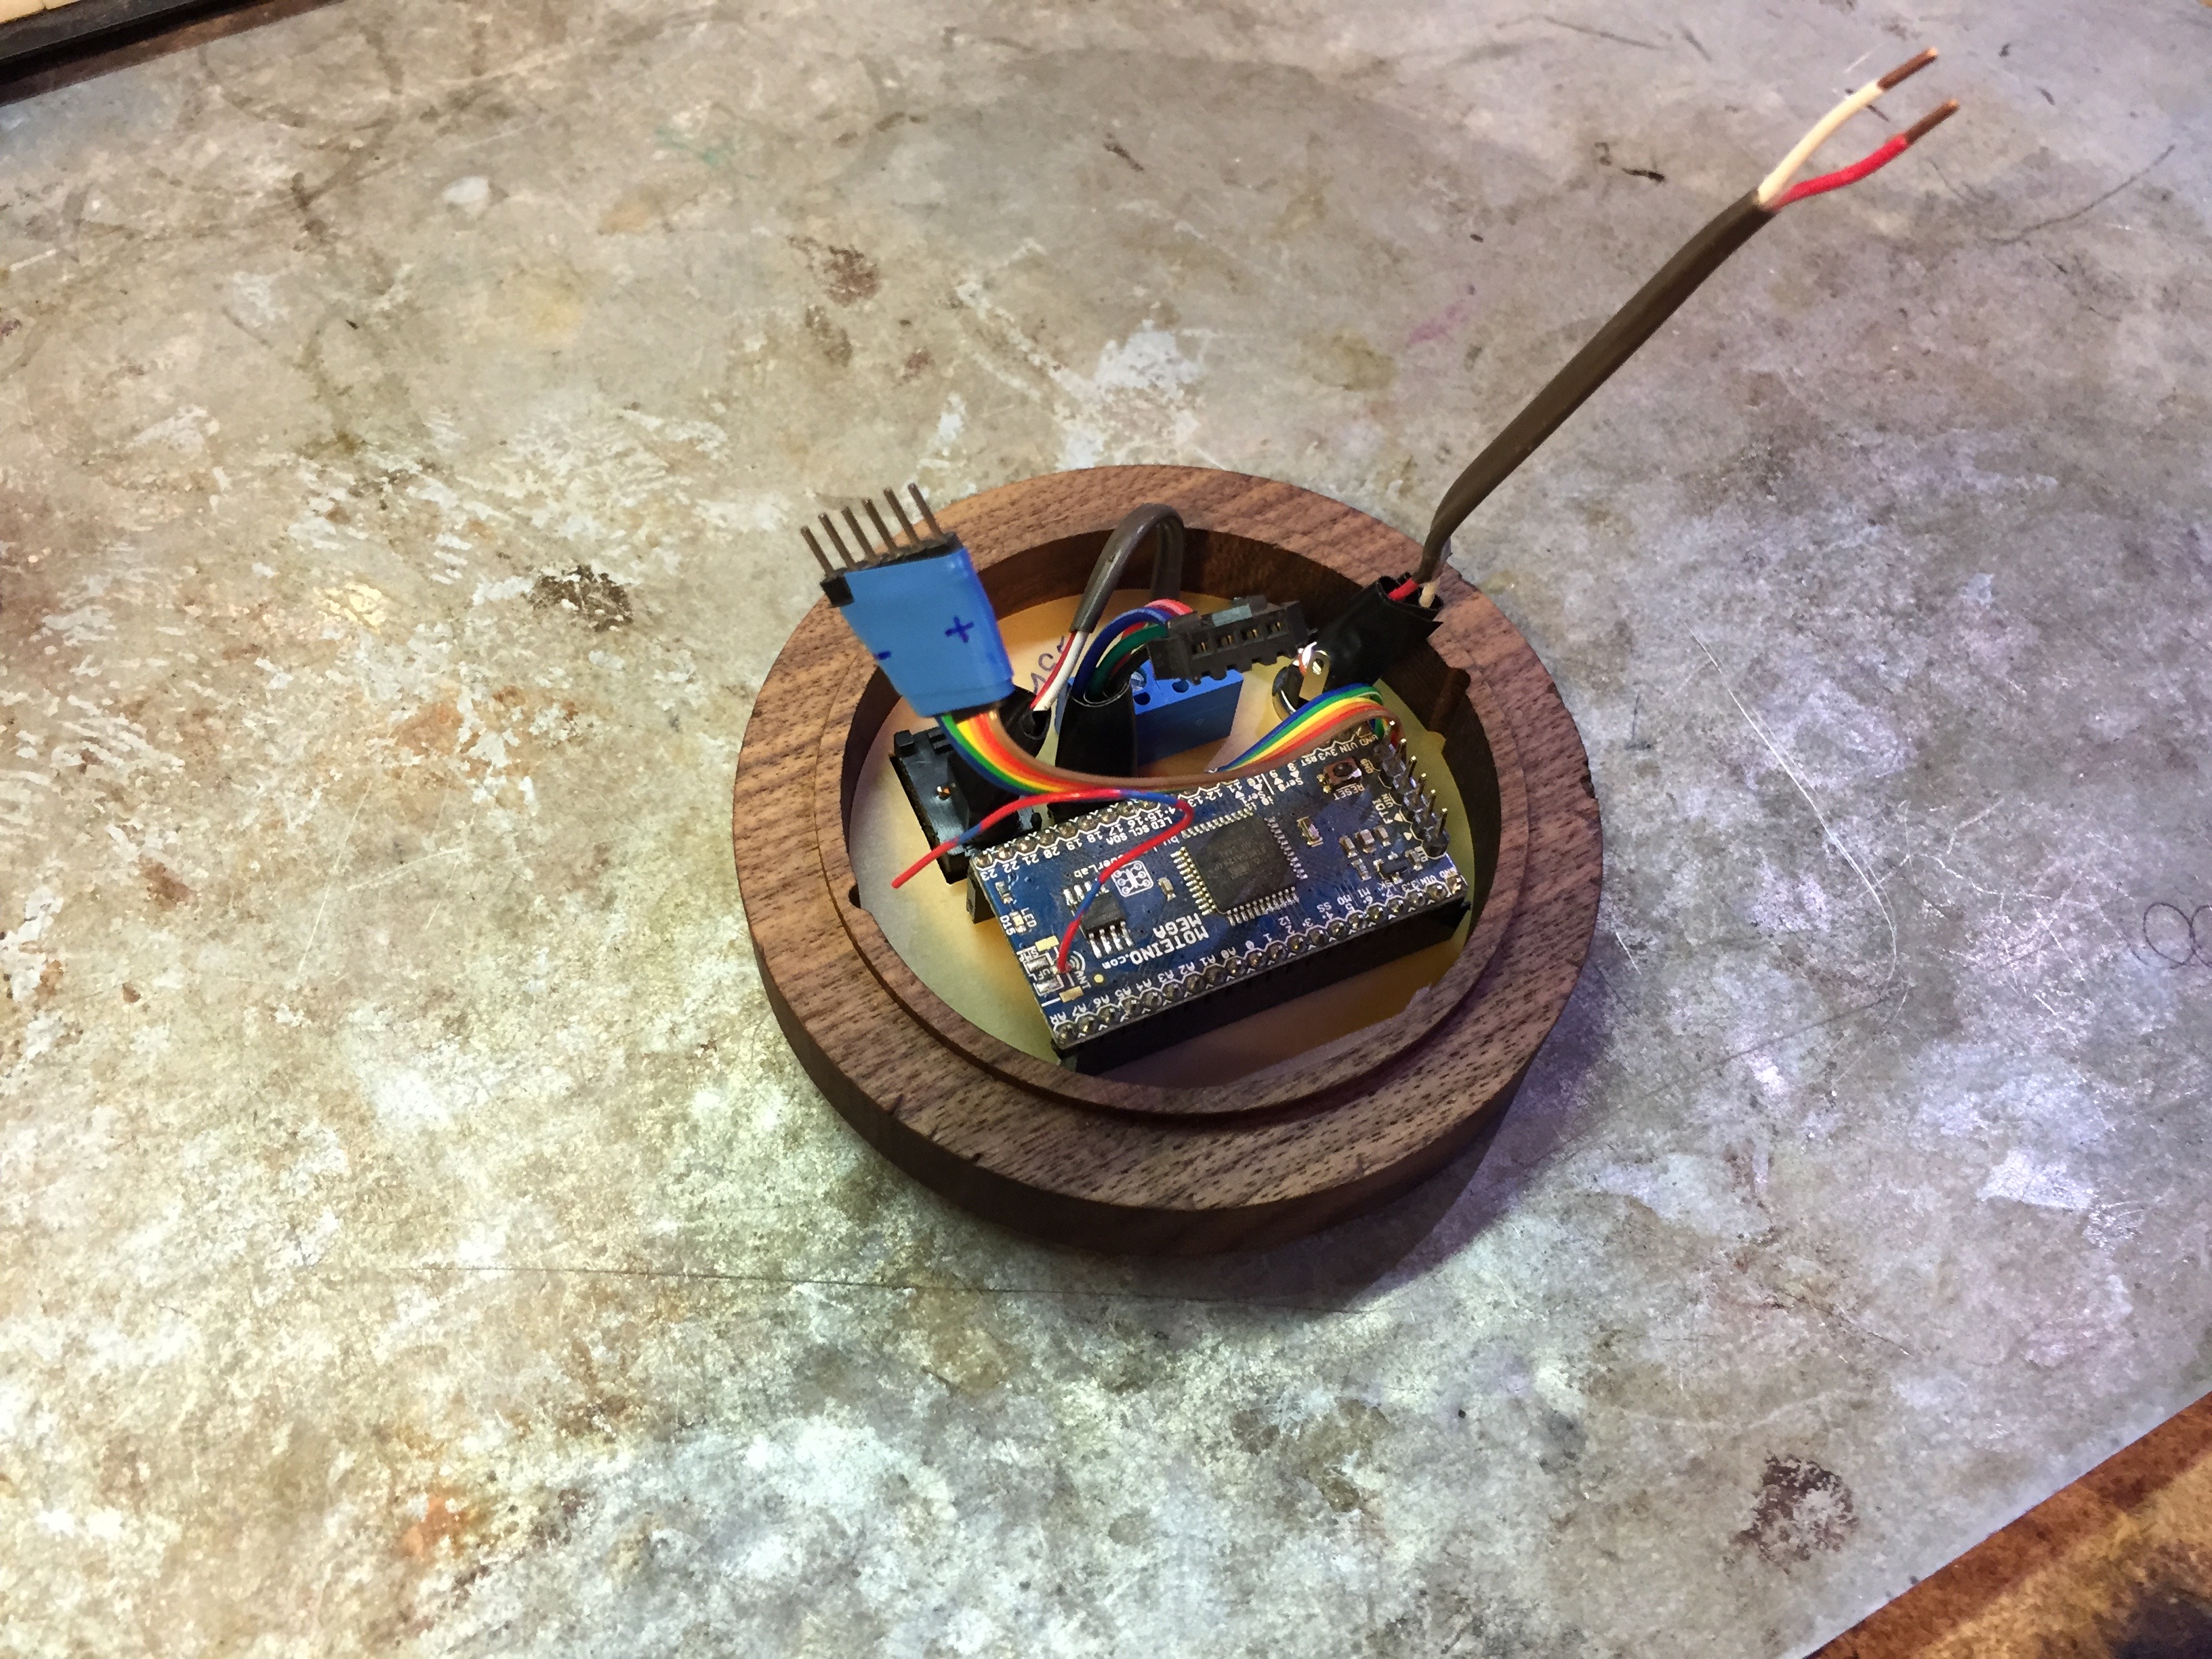
Cube Lights
These lights use one of the control boards to run a strand of addressable LEDs, capacitive touch sensors to interact with the cube, and the same networking protocols as the Switching Modules. The geometry of the squares and LEDs is saved to memory and understood by the code to allow for animations that are aware of the geometry of the light.
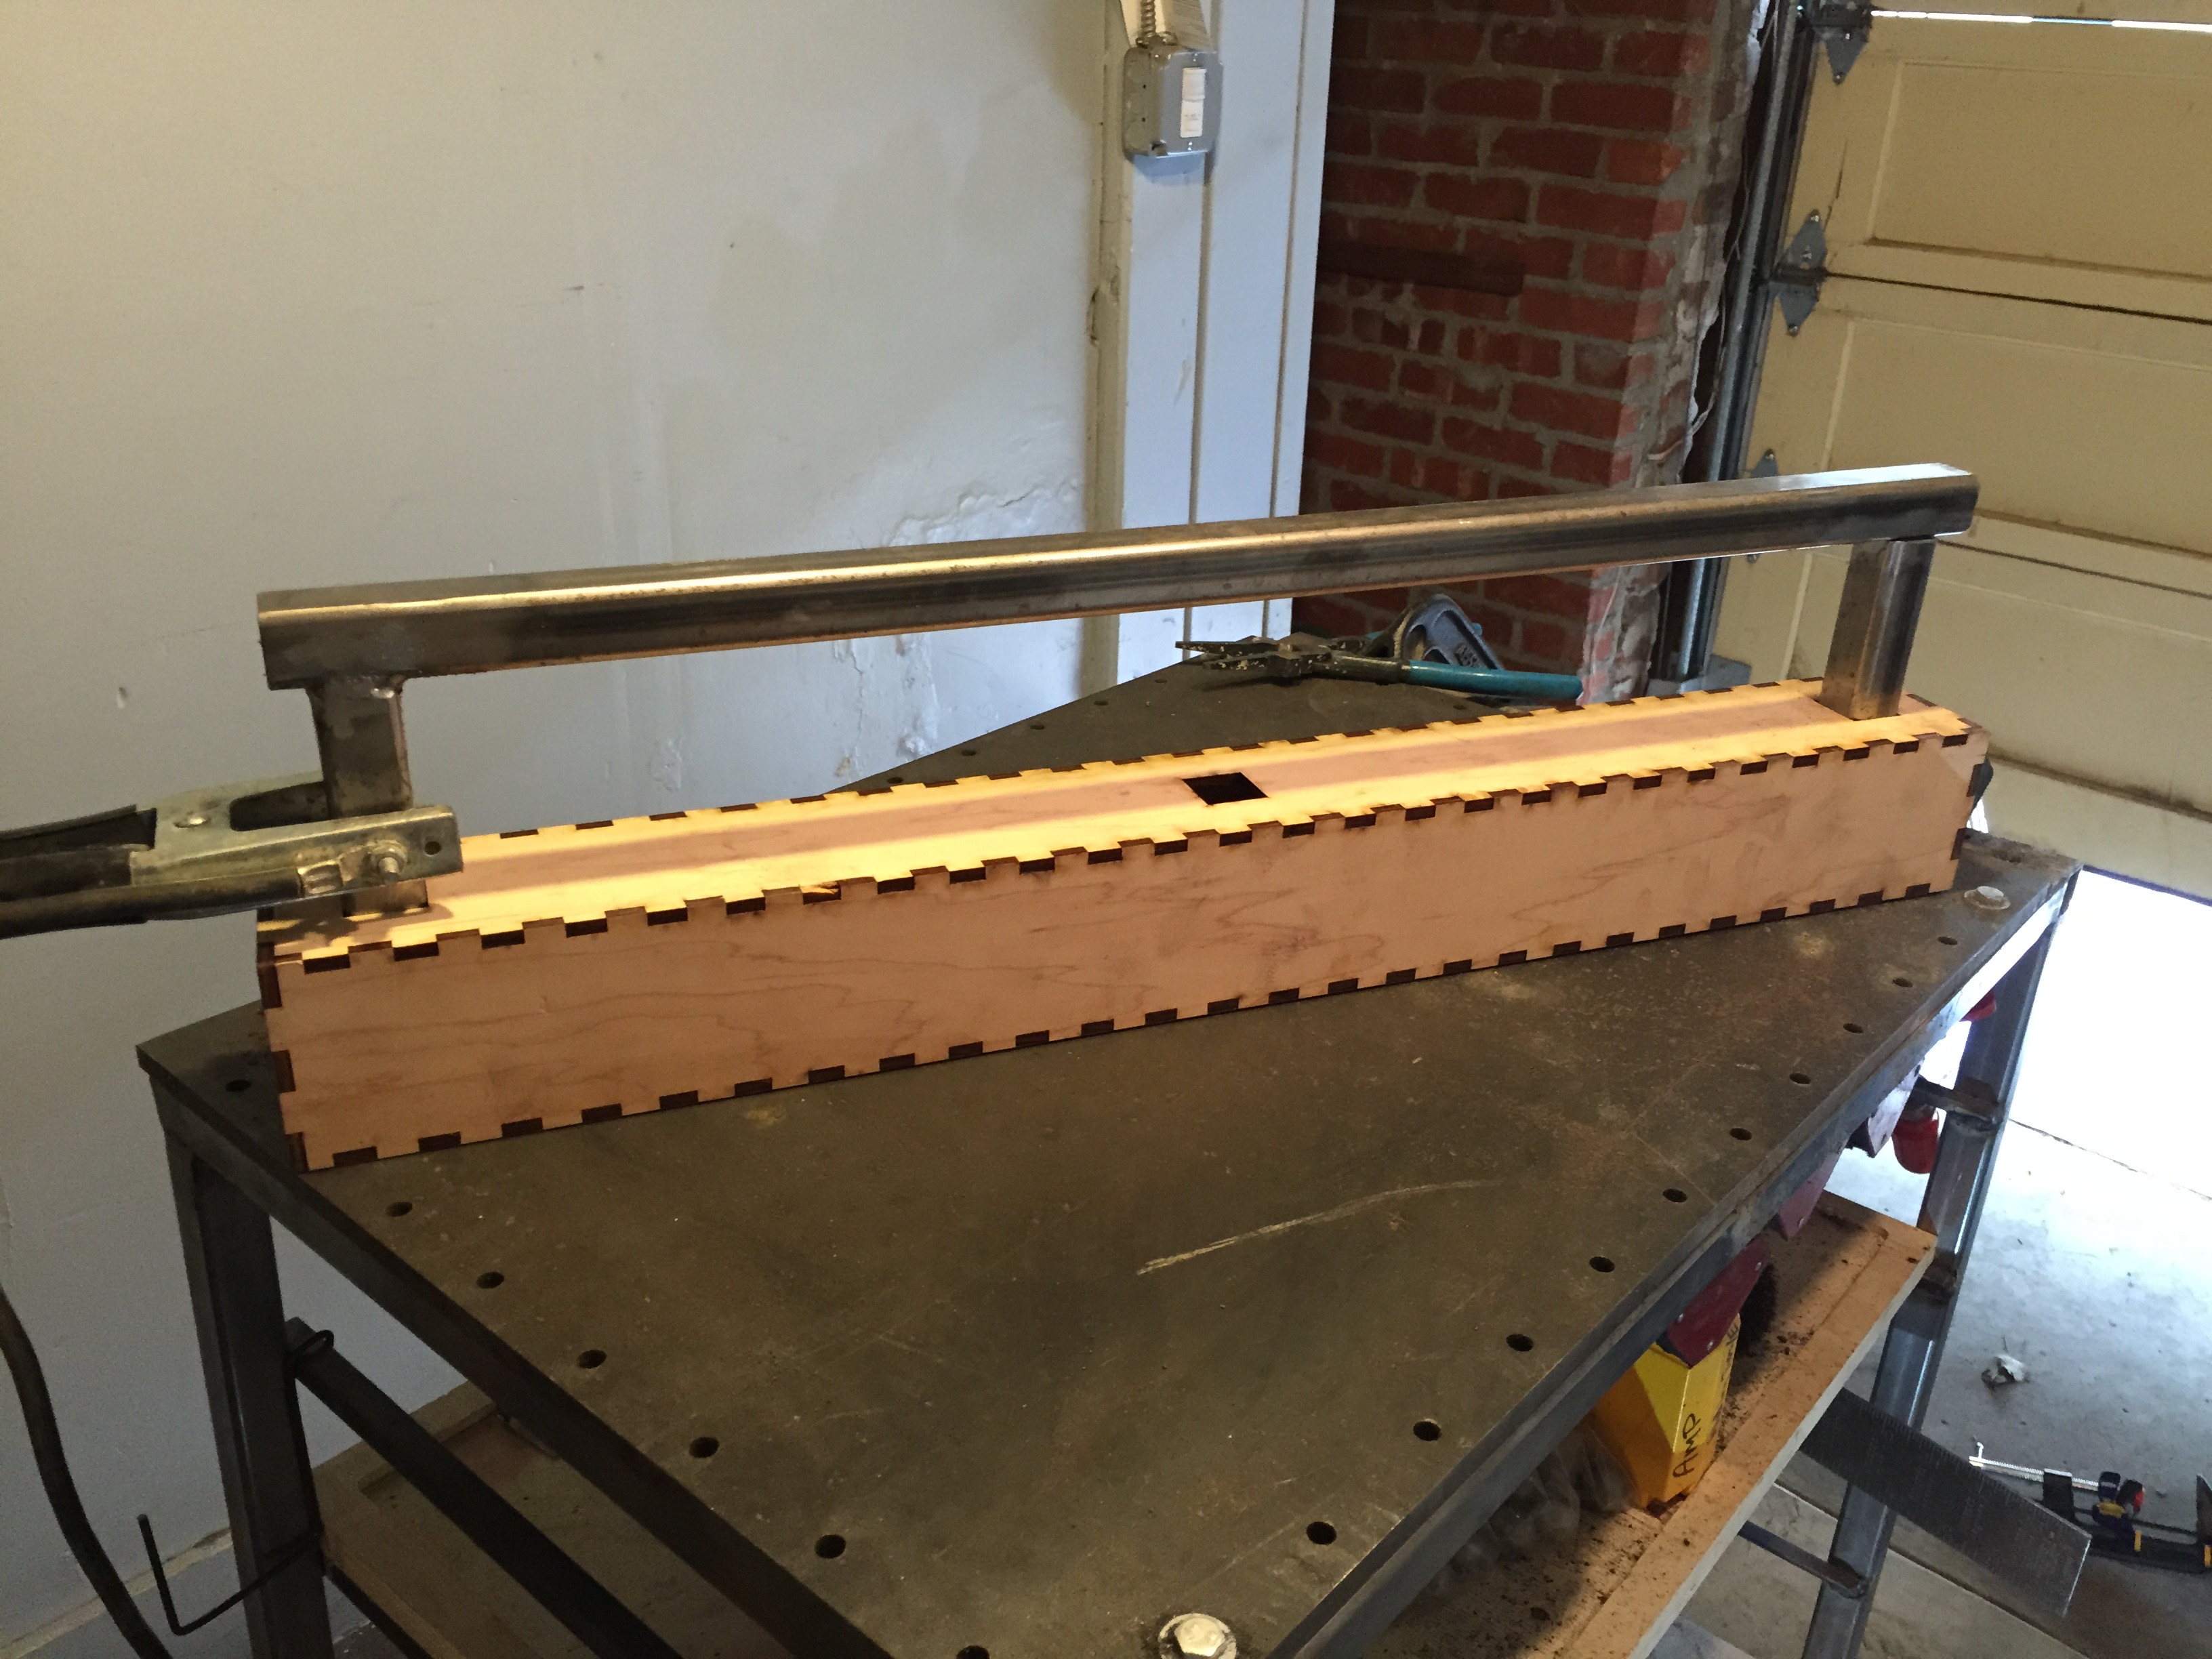
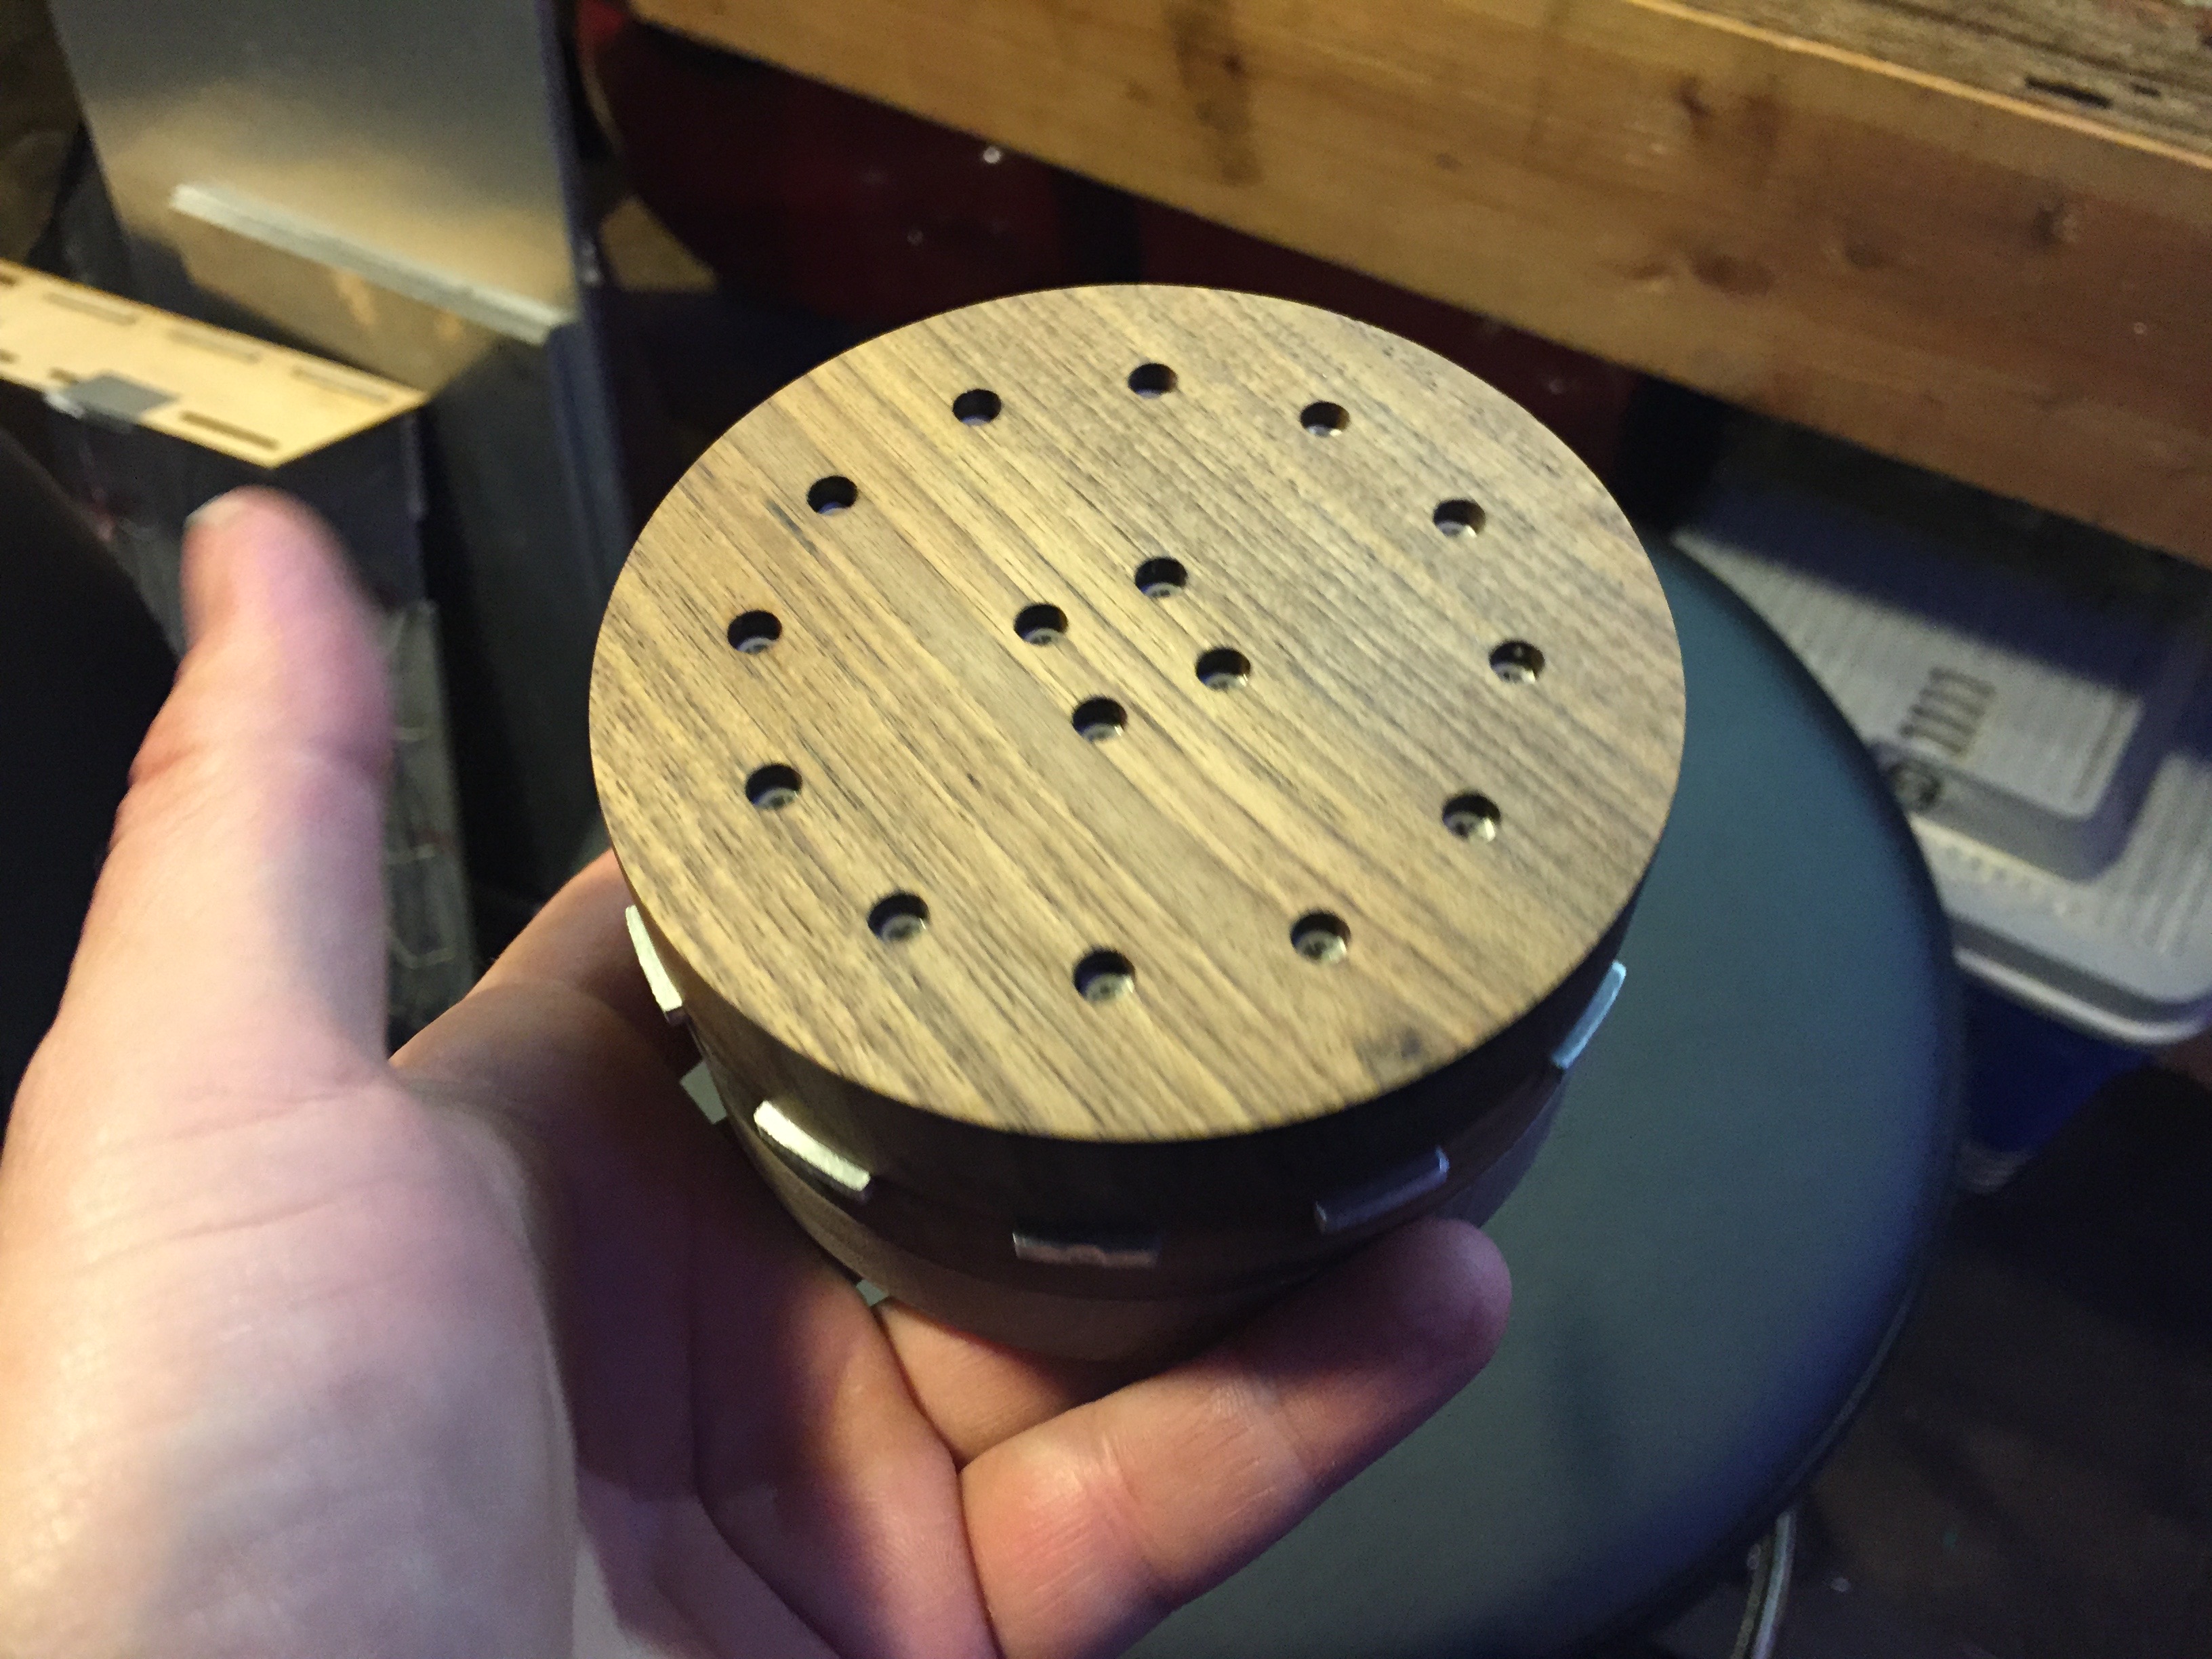
End-table cube
This is a larger version of the cube I made out of wood and some glass lenses I found at a local used building goods store and sandblasted to make them frosted. It has an acrylic sheet for the table top, and uses stainless steel bolts for capacitive touch sensors.
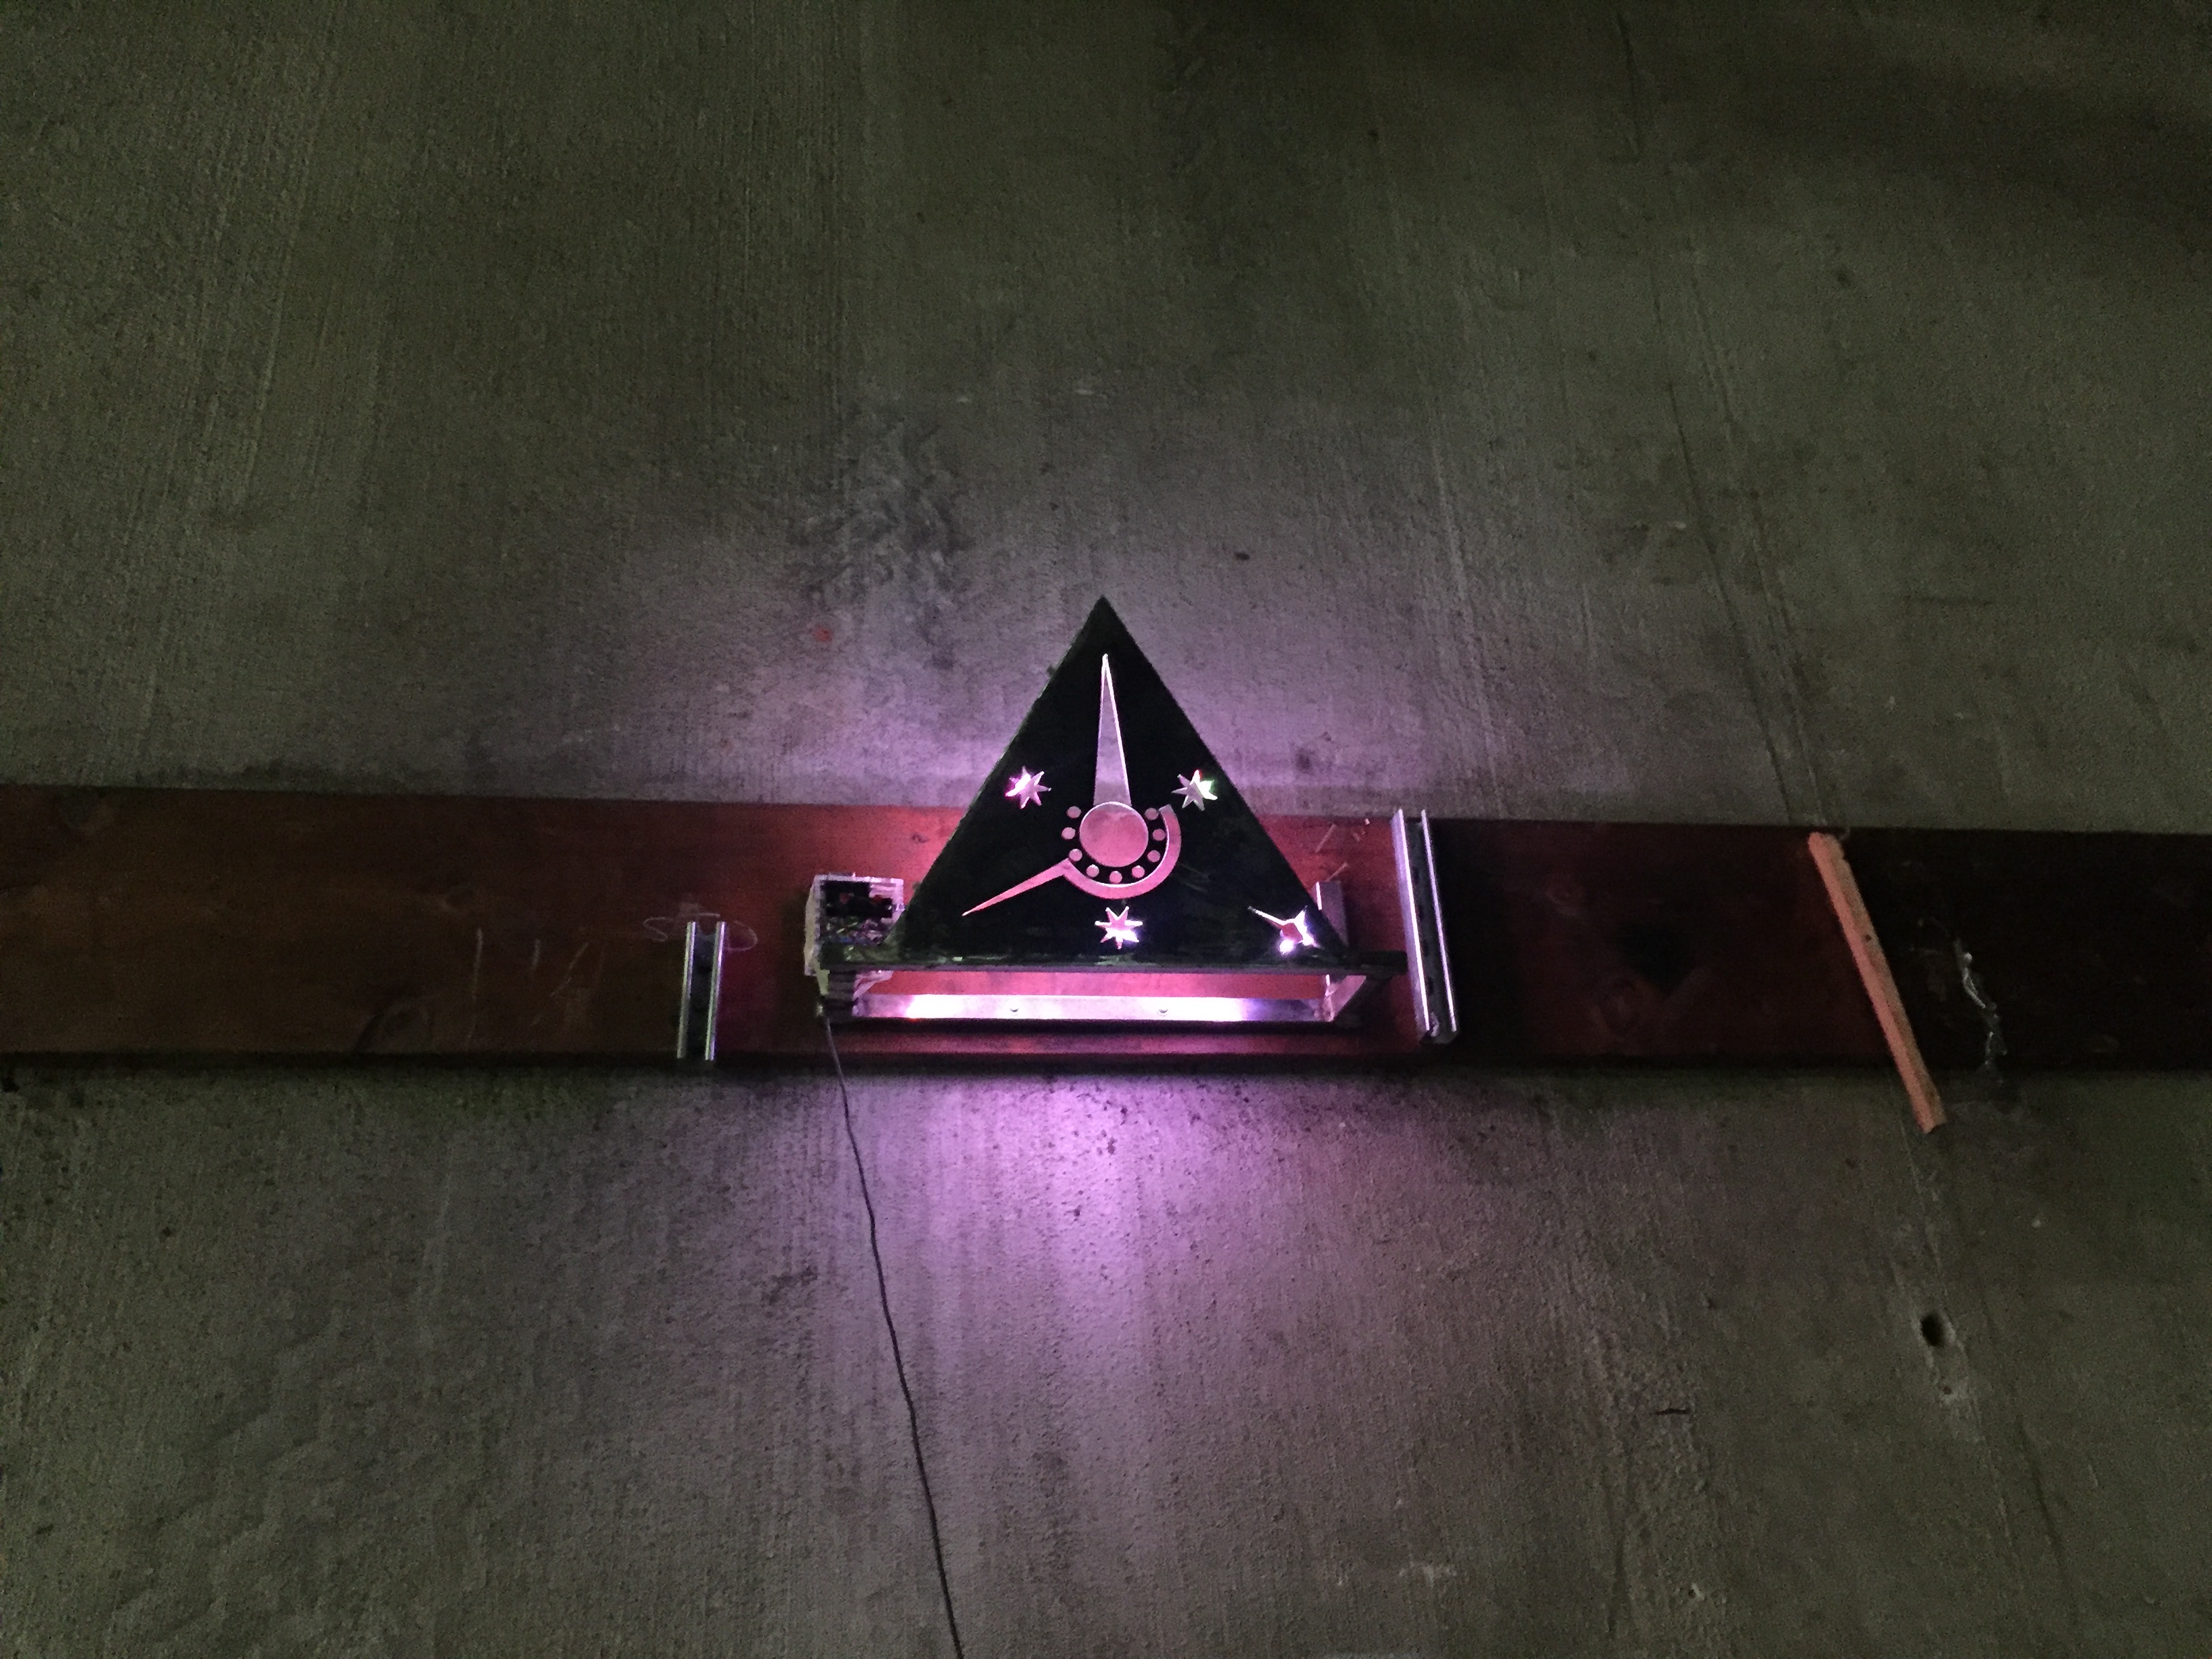
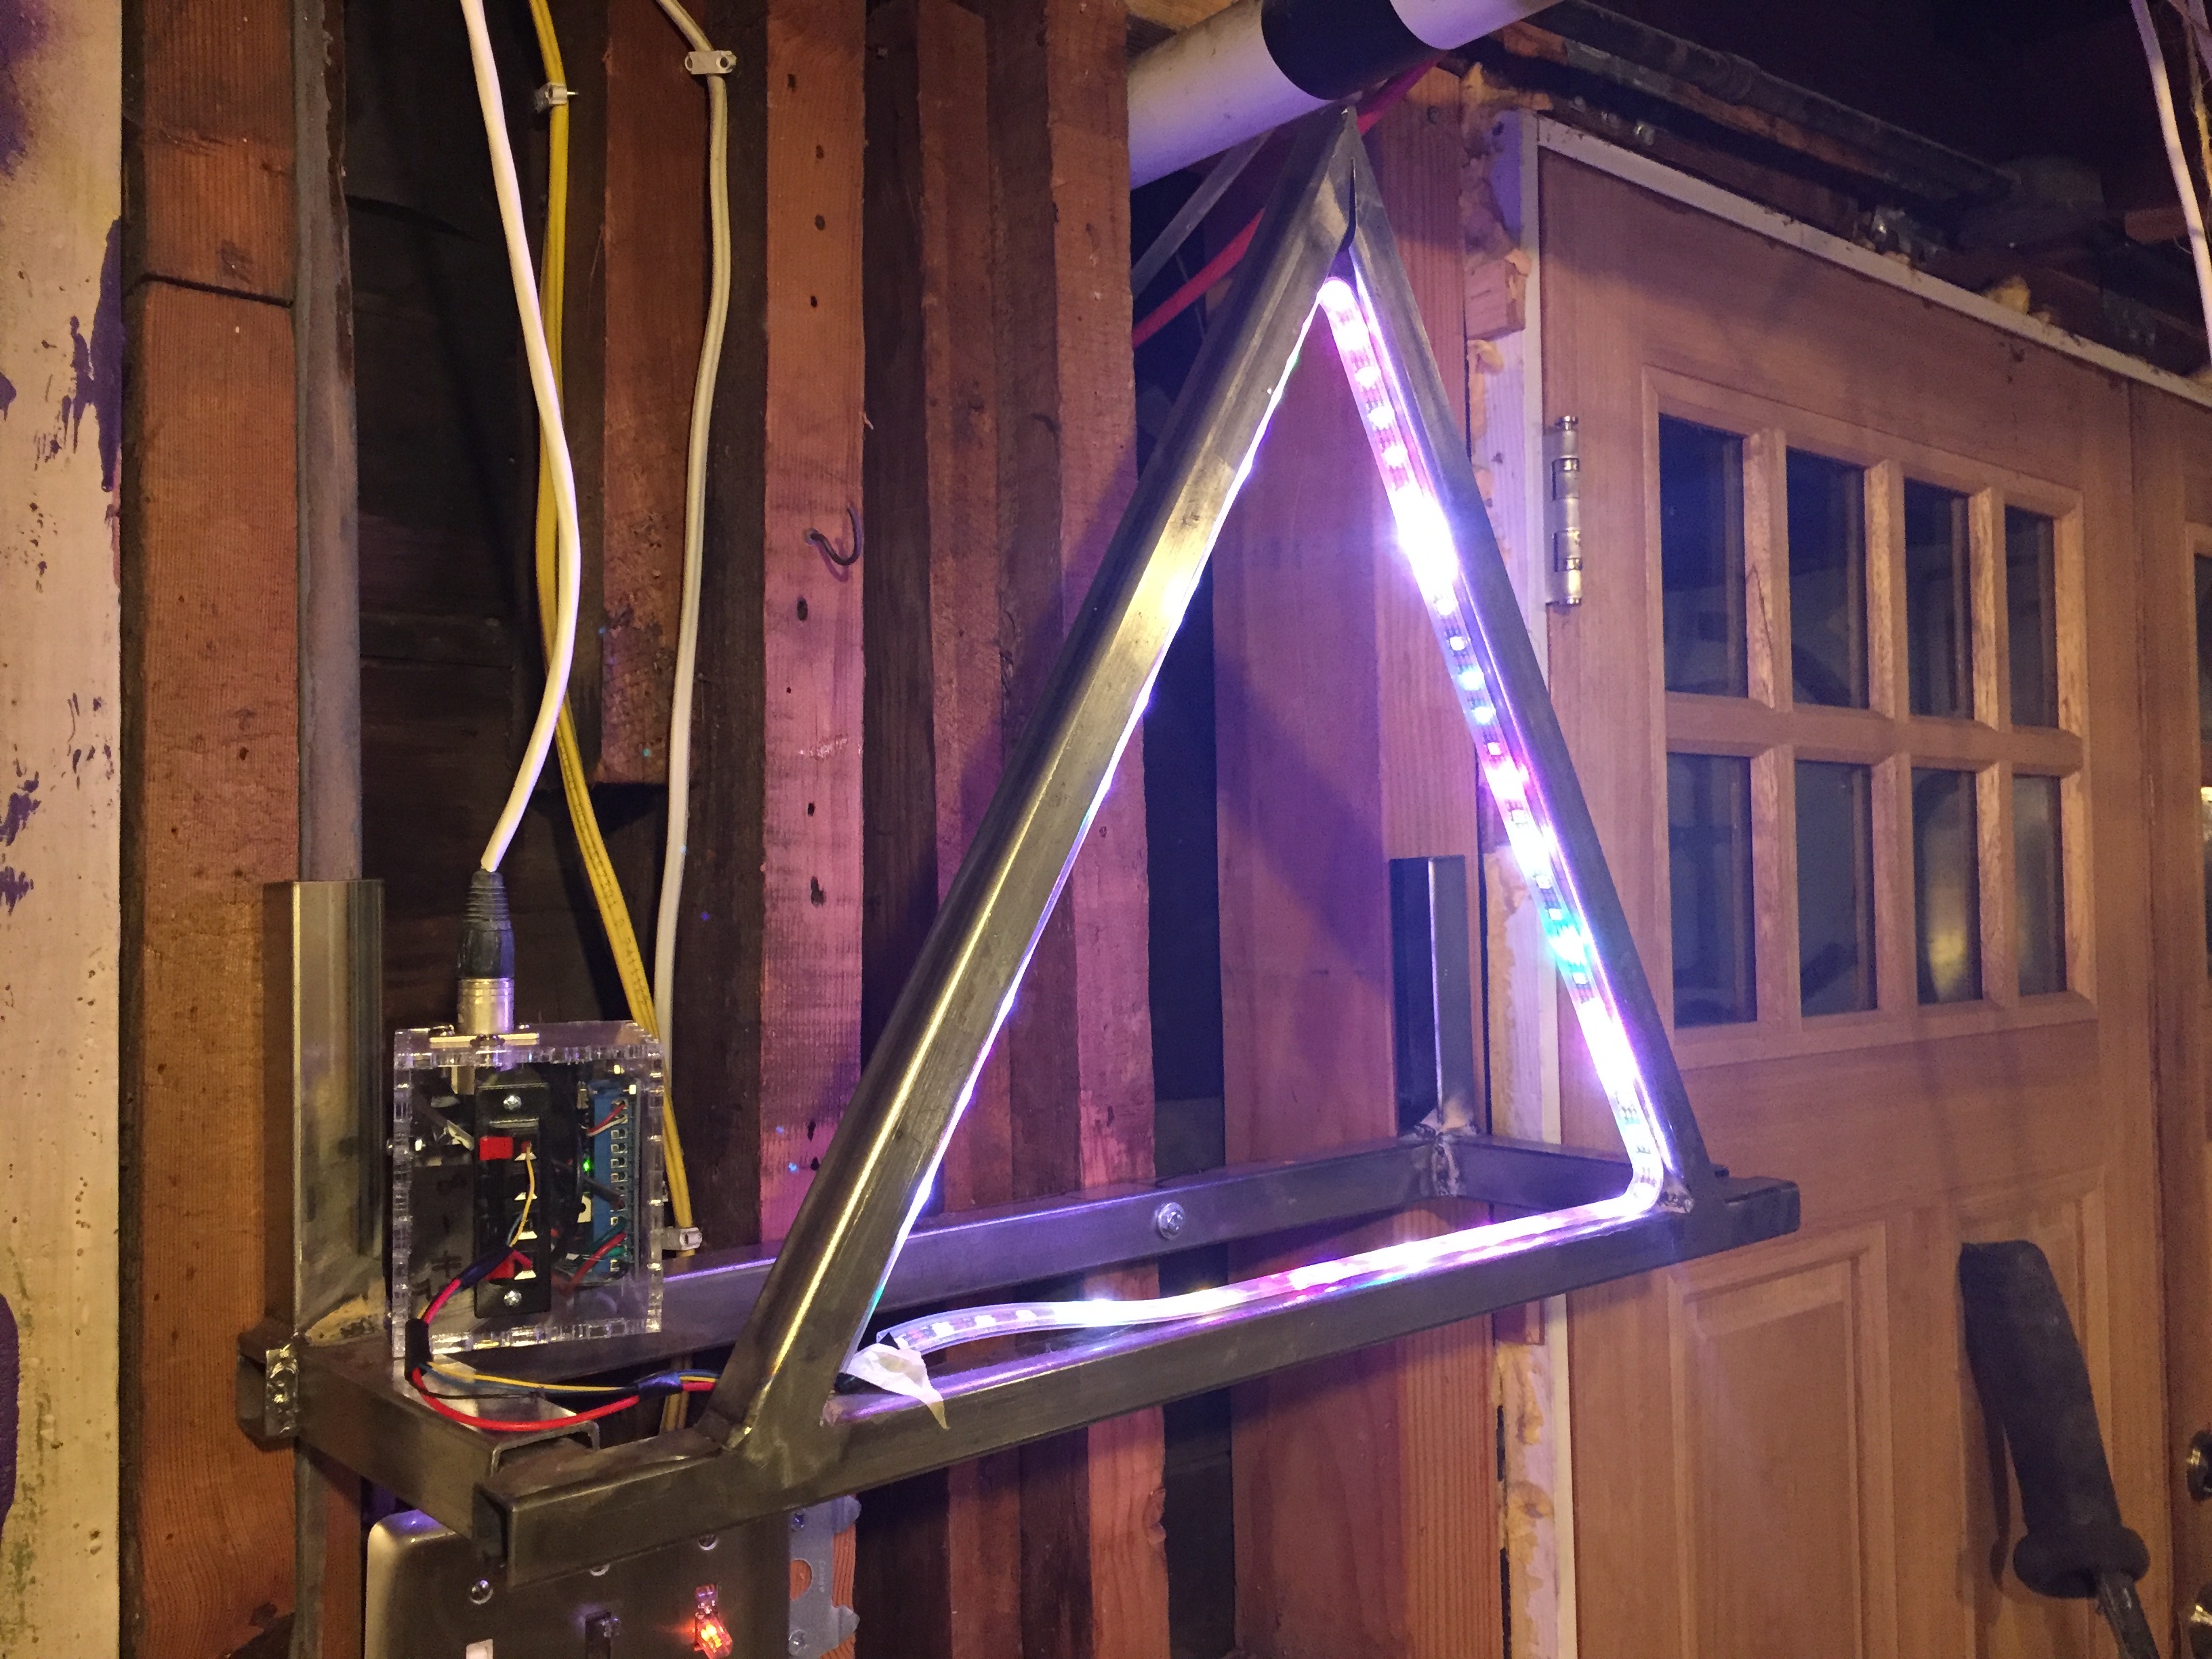
Triangle Lights
These lights run on the same board and share some code with the cube lights but with triangular geometry. The current hardware I’m using is limited to around 40 triangles in one light, but I’m working on one that should be able to handle a few hundred.
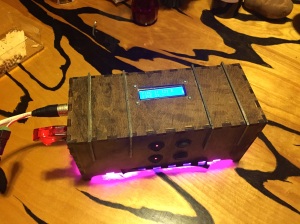
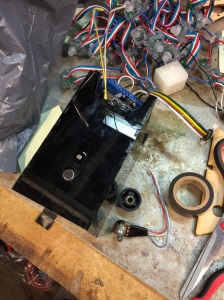
I built this box to control the flame effects on an art car I’ve been involved in building for Burningman. It has four capacitive touch sensor (plus for more that can be connected to external items to use as controls) and four switches for controlling the system. The controls for this car were actually what caused me to originally start this project but they weren’t ready in time for the 2013 event.
Sound sensor
Using one of my boards I’ve added sound sensing and processing (using one of these microphones), along with a knob and light sensor. These track the state of these sensors, sends the sound state through an FFT to get equalizer-style data, and responds with the current values if another module requests it.
Other methods of control
I’ve have a python API for this system so that it should be relatively easy to control from a computer and other devices. I’d pre-ordered a Myo sensor armband a long while ago and it came recently, so I’ve linked its python library and my code to get gesture controlled lights.